Weddings

Wedding Preview | Malibu Romance

| Weddings

A couple weekends ago, I soft-launched the new Milo’s Bonbons logo when I catered a wedding in Malibu. I’m excited to share what I made and describe that adventure in more detail, but I may need to wait for professional photographs, as I didn’t have much time (or lighting) to capture many good ones myself. In the meantime, here’s a quick preview of the wafer paper flowers I made for the wedding cake:

Wafer paper is made of potato starch, and with edible ink, you can print pretty much any color you want. I printed out shades of coral and pink to try to match the bride’s bouquet, and then cut out petals to assemble together with piping gel. It takes a little time, but it’s a little cleaner and quicker than gumpaste flowers. I also love the soft, romantic feel that wafer paper lends itself to. Can’t wait to keep exploring this technique!

More detailed post on the wedding to come!

0 comment

Wedding | Congrats Tiffany & Jon!

| Featured, Recipe, Weddings

A very belated post, but . . . This past July, Milo’s Bonbons had the honor of appearing on my cousin’s wedding menu! It was a whirlwind of a preparation for the wedding, but such a pleasure to cater desserts for Tiffany’s and Jon’s celebration.

My cousin asked for salted caramel chocolate cupcakes and lemon bars. Believe it or not, it was my first time making lemon bars! I probably should have experimented with that a little more, as I wasn’t perfectly happy with my crust to filling ratio, but it’s hard to go wrong with the flavor. I made both lemon and and lemon-cherry swirl bars as a nod to the wedding colors.

To give the desserts a little something extra, I decided to present the cupcakes and lemon bars on a display stand. I didn’t have enough chocolate on hand to make a chocolate stand and thought nougatine would be a better vehicle for my cousins’s wedding themes of red + gold and succulents. However, in retrospect, nougatine wasn’t the best choice for an outdoor wedding. The display held up, but it sure got shiny and sticky! Next time I’m sticking with using isomalt instead of sugar, or just using something material.

Here is the making of the nougatine, from toasting the nuts, to cooking the sugar and rolling out / cutting the pieces:

 
Nougatine
Makes about a half sheet pan

Ingredients:
  • 600g granulated sugar
  • 250g sliced almonds, lightly toasted and warm

Directions:

  1. Make a dry caramel (or wet, if you don’t want too dark a nougatine) with the sugar in a saucepan.
  2. Stir in the warm, sliced almonds.
  3. Immediately pour mixture onto a nonstick silicone mat and spread as thinly as possible.
  4. Place a second map on top of the caramel and roll out as thin and even as possible. Begin this step as soon as your can handle the heat.
  5. Remove the top map, carefully life the nougatine sheet and place on cutting board or oiled parchment paper. If mat sticks, then caramel is still too hot.
  6. Using a knife or cutting mold, cut desired shape, working quickly. If nougatine is too cold to cut or shape, place back on silicone mat and into a 350 degree oven for just long enough to soften.

I was quite limited by the size of my oven at that time, which couldn’t fit a full sheet pan, and thus limited the size of my cylinders and ovals. But, I’d like to think there was something “organic” or “artistic” about the pieces I built with 🙂 I added succulent trimmings to my nougatine leaves/petals to tie everything together:

1 Comment

Wedding | Congrats Stephanie & Michael!

| Featured, Weddings

(Photo credit for featured photo above: Sara Richardson Photography)
ETA: Updated with photos from wedding photographer(s). Also, the wedding was featured on Jet Fete Blog! 
Last weekend I had the honor (and challenge) of making the wedding desserts for my good friends Stephanie and Michael. I first accepted the honor of making the ~100 red velvet cupcakes. Then I found out the wedding was in Mexico. That’s when it became a challenge . . .

and you know I don’t back down from challenges!

i-S9QKK6r-X3
Photo Credit: Sara Richardson Photography
i-gD8GvZd-X3
Photo Credit: Sara Richardson Photography

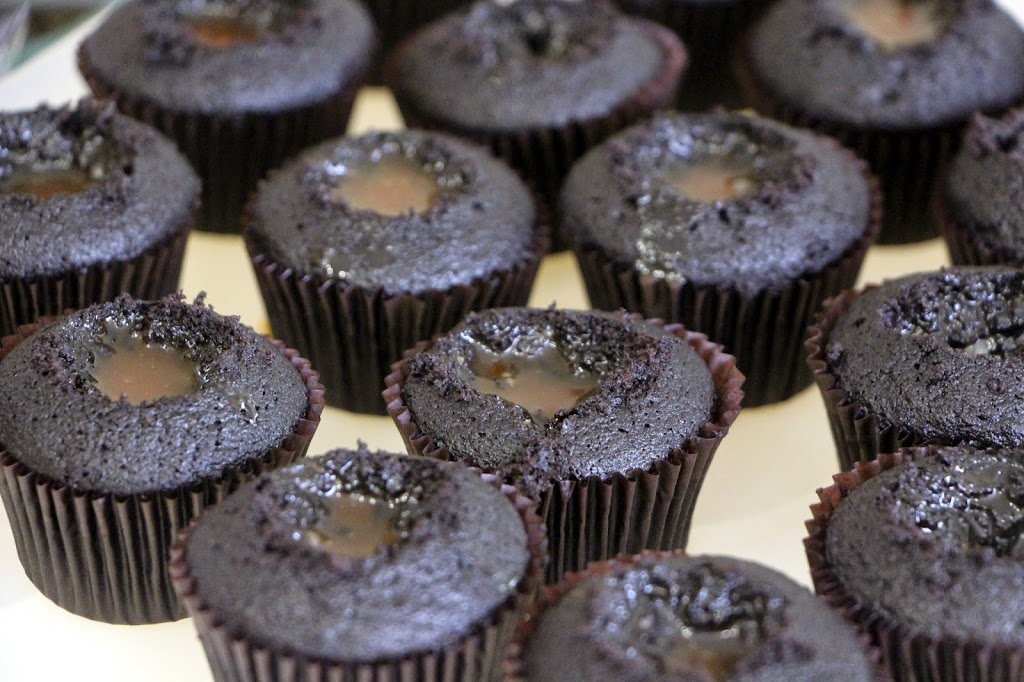
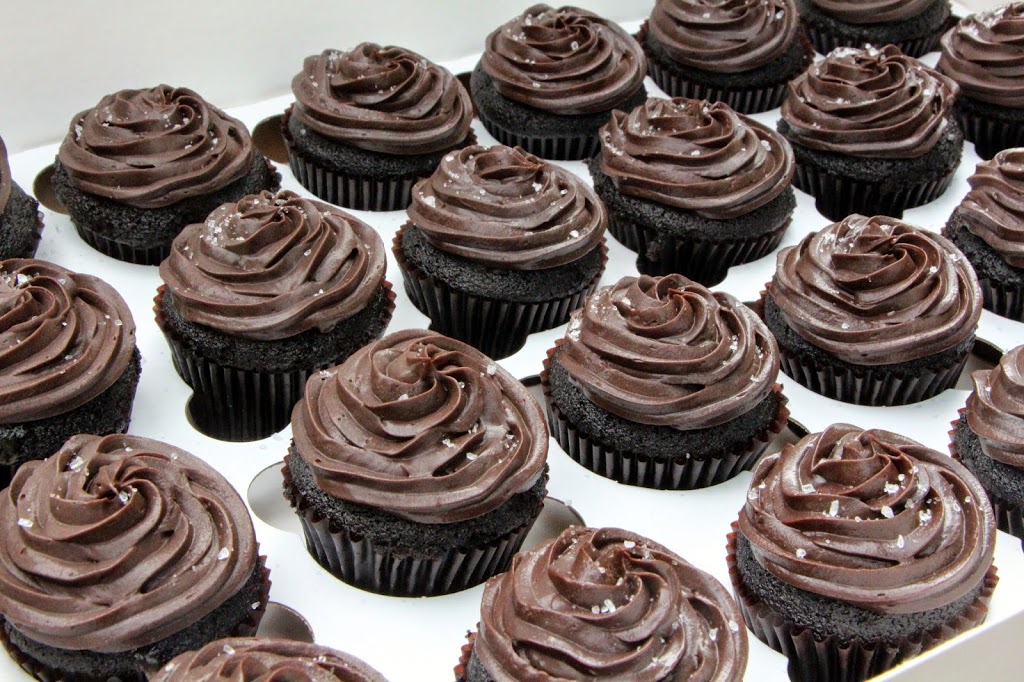
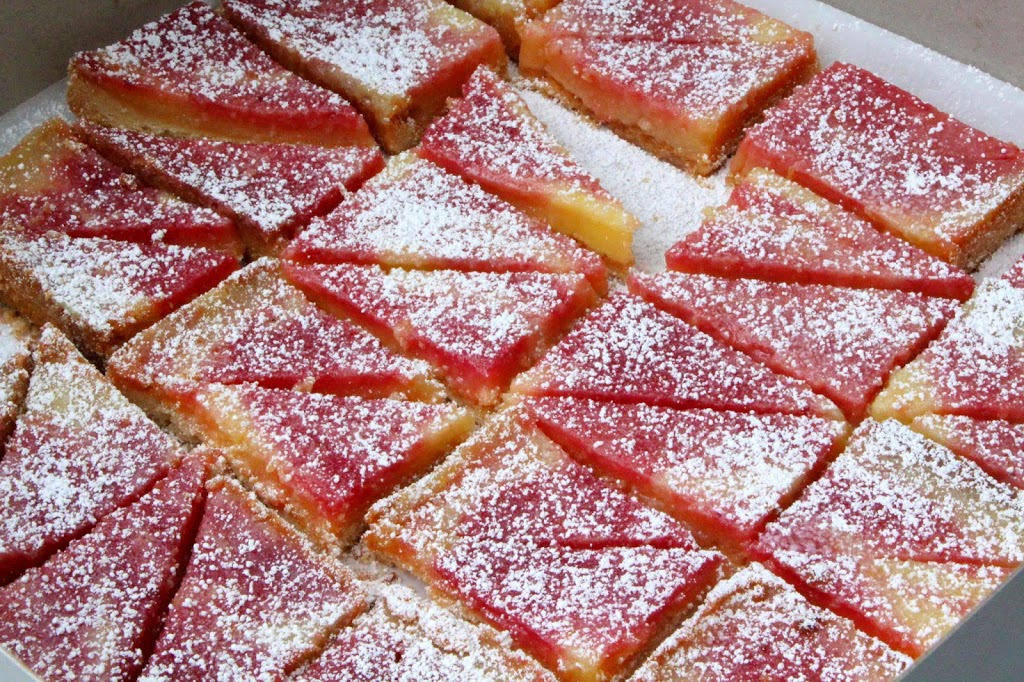
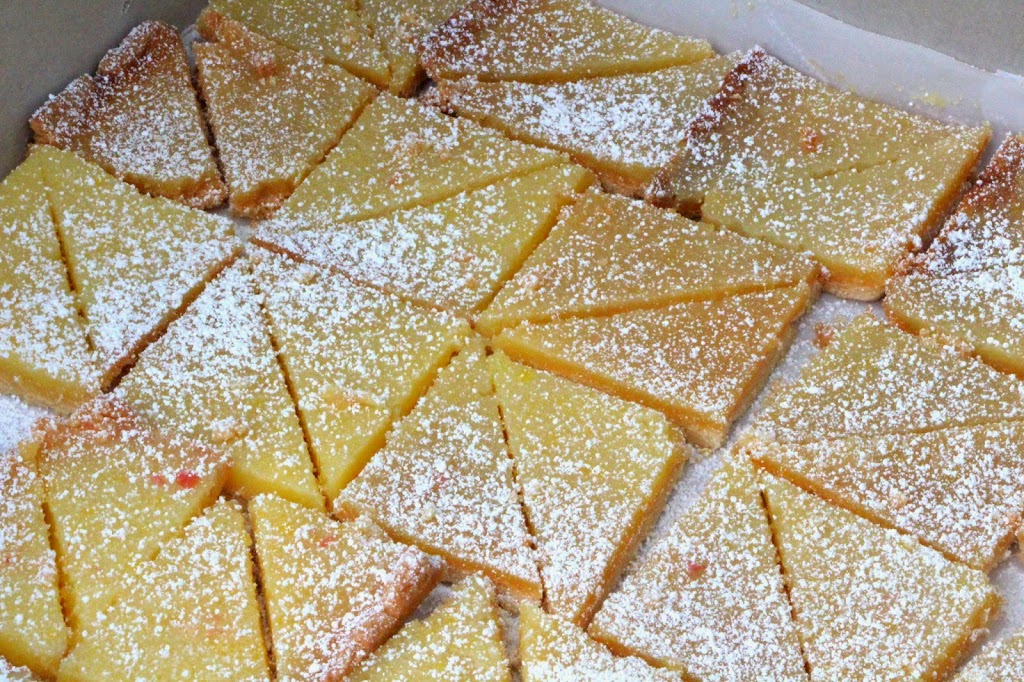
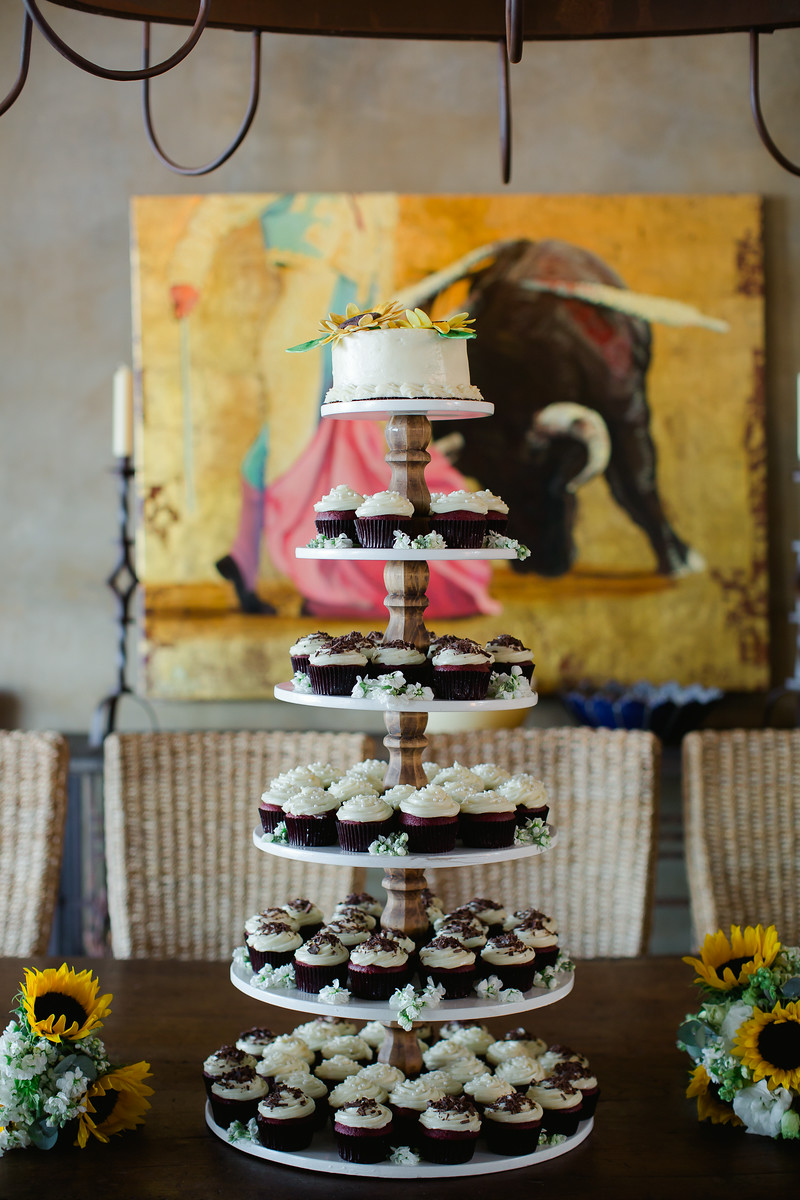
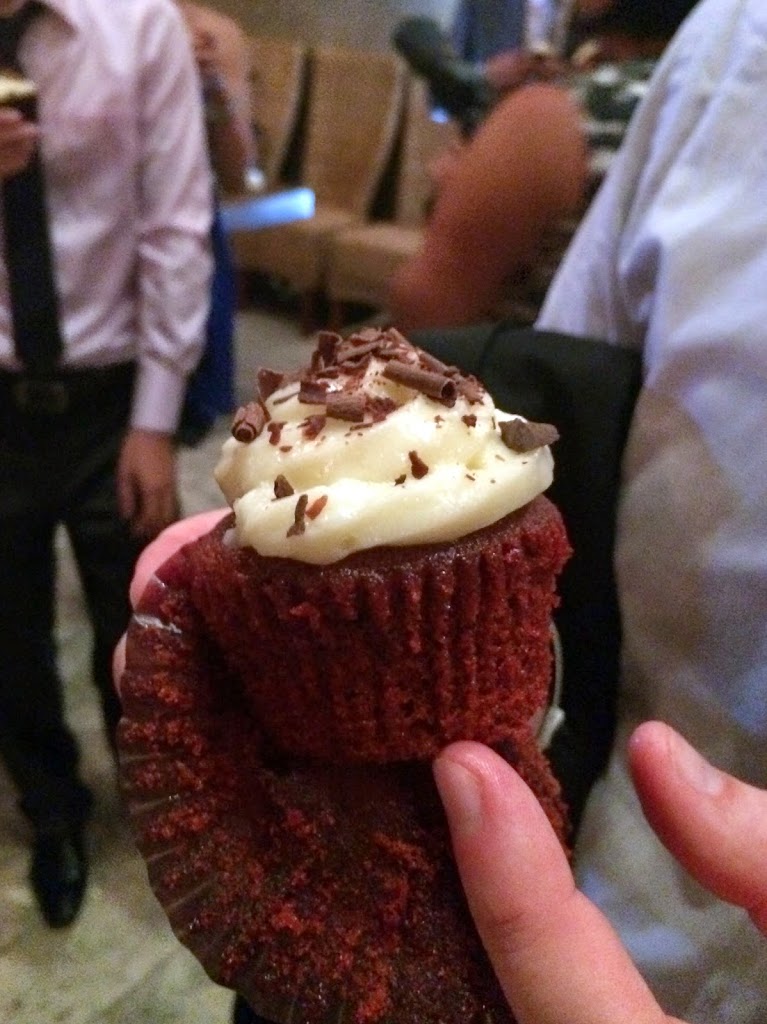
I’m happy to report that everything went off without a hitch. We did a cupcake taste test a couple months in advance, experimenting with a combination of fillings (e.g. lemon curd, chocolate ganache, cheesecake), frostings (plain cream cheese frosting, lemon cream cheese frosting, ginger white pepper cream cheese frosting) and decorations. After it became apparent that bride and groom (and participating wedding party taste testers) had drastically different taste preferences, we settled upon two cupcakes: (1) red velvet with lemon curd filling, lemon cream cheese frosting and white pearl sprinkles, and (2) red velvet with dark chocolate ganache filling, plain cream cheese frosting and chocolate curls.

 i-rpmf9DK-X3
Photo Credit: Sara Richardson Photography

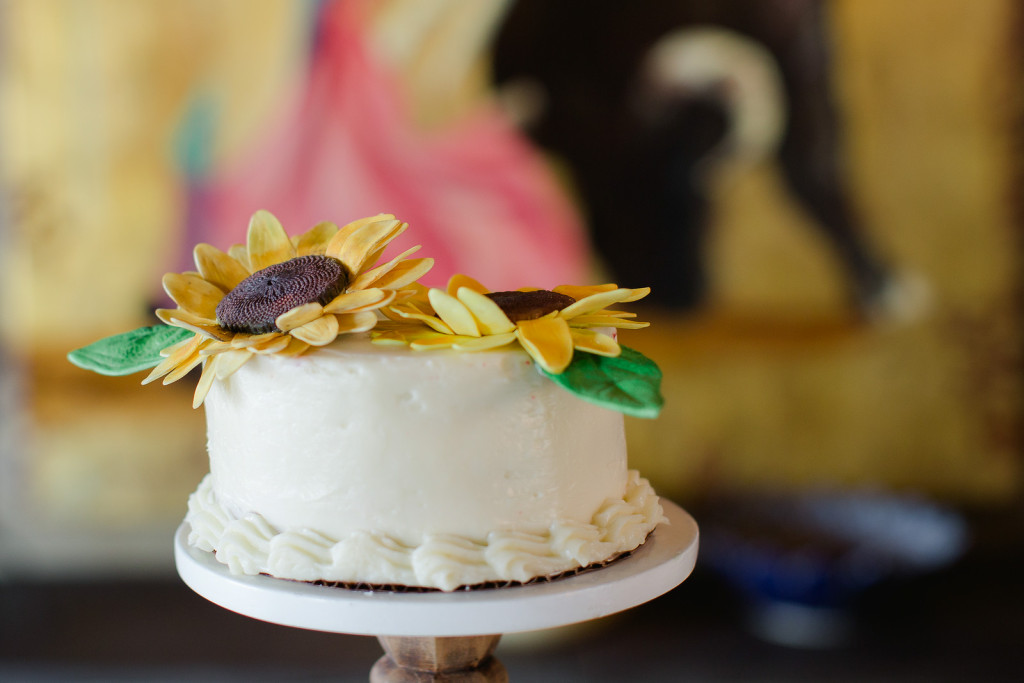
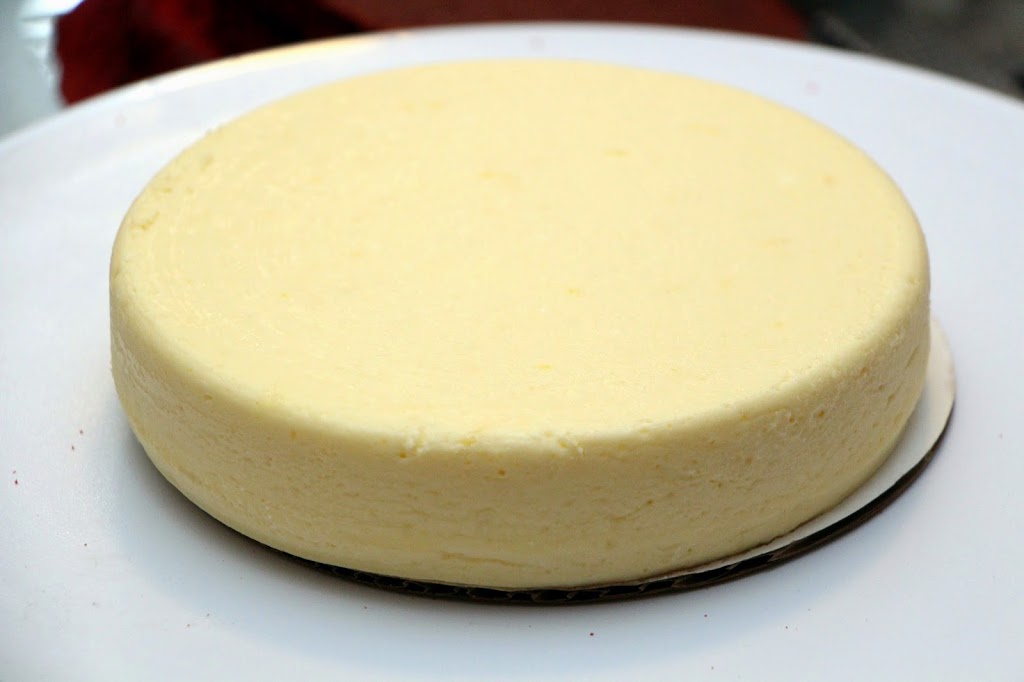
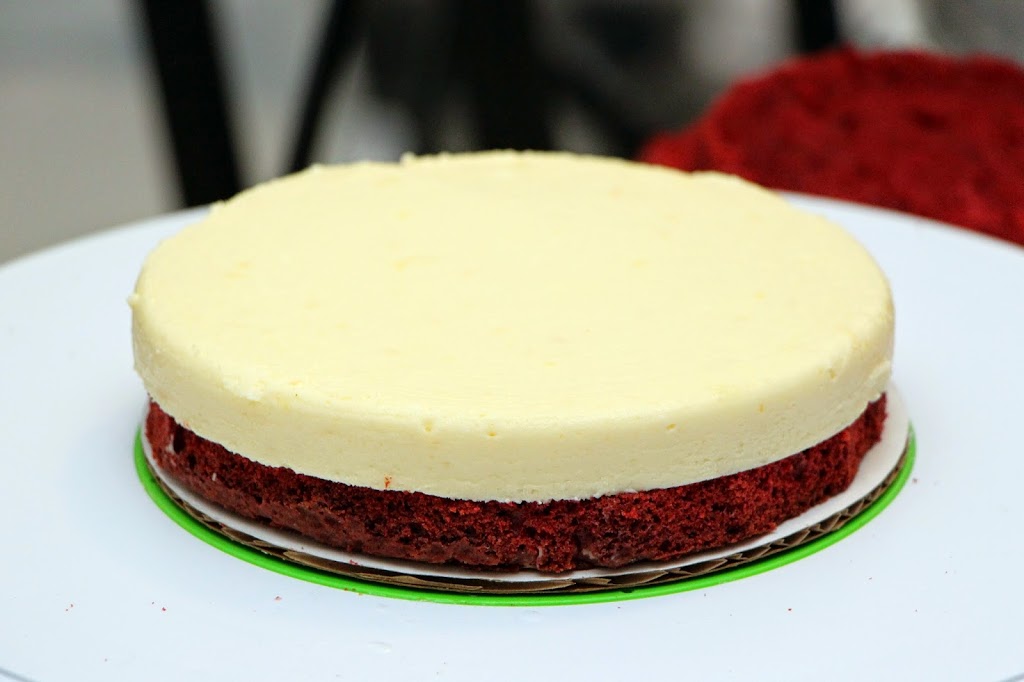
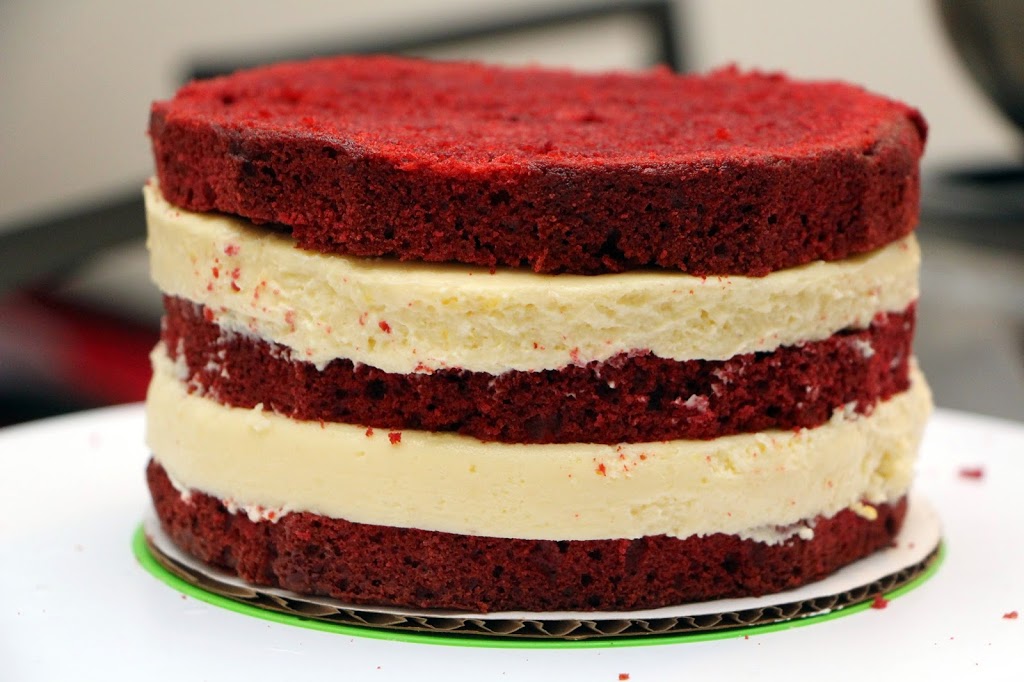
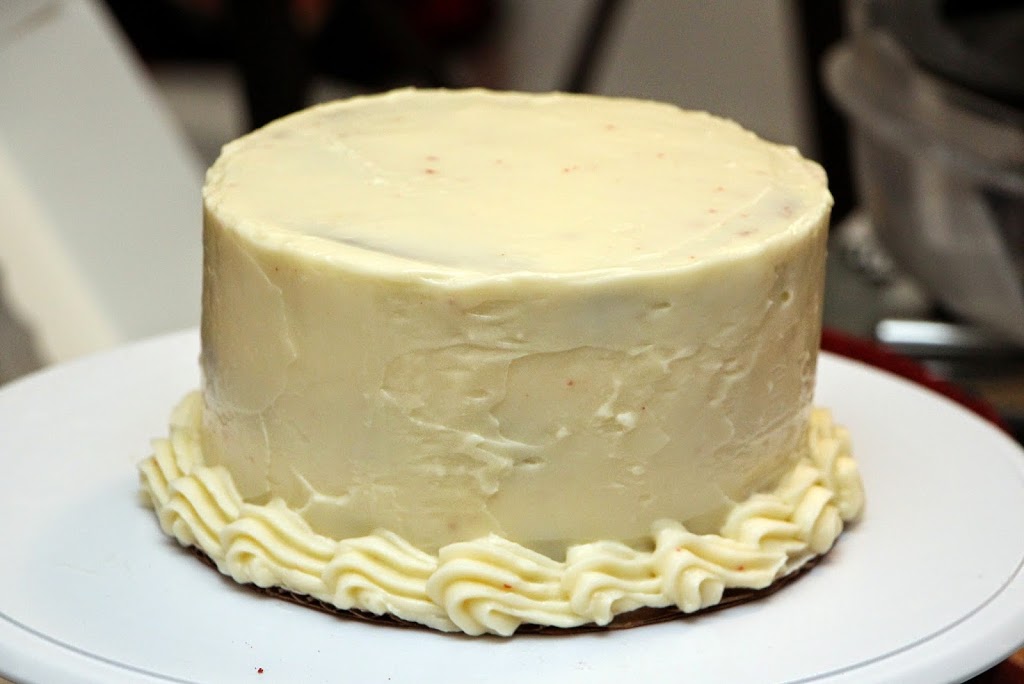
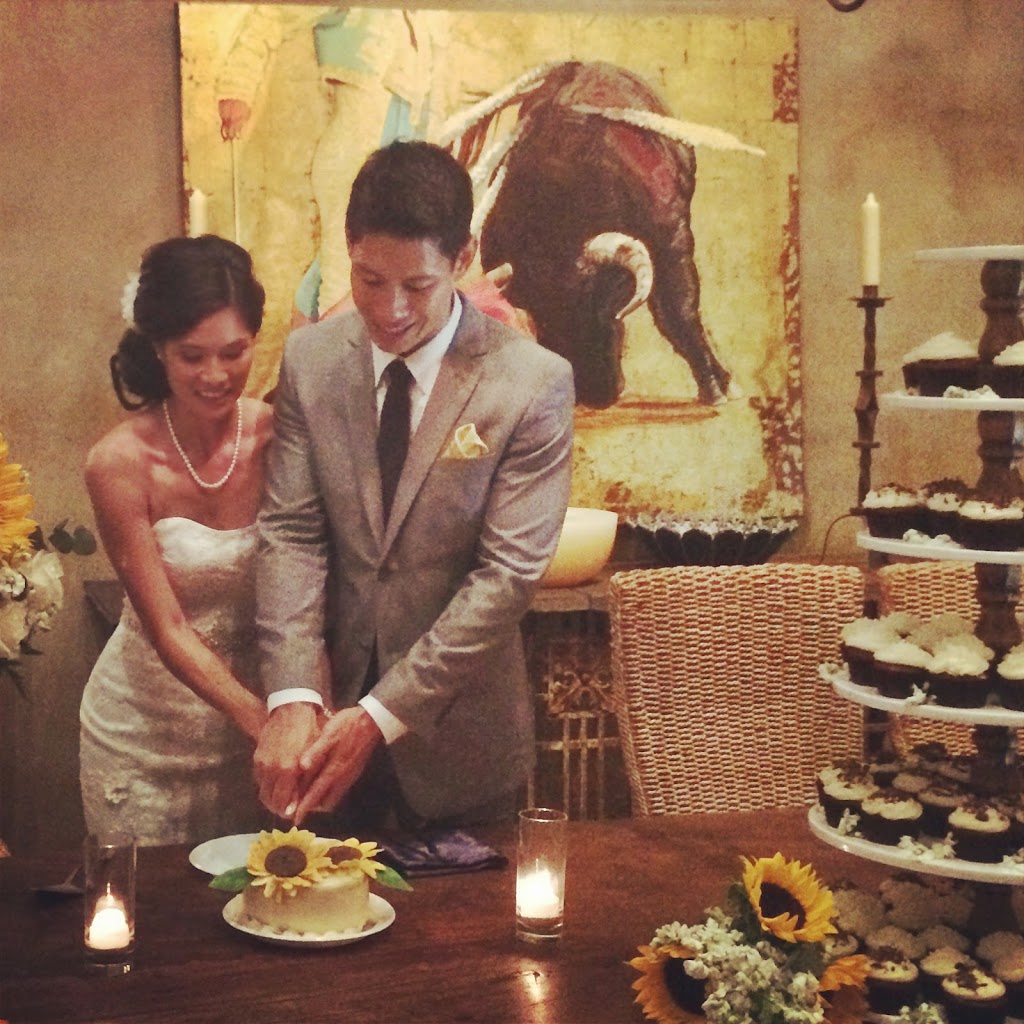
As a surprise, I also made a 6″ topper cake, which was alternating layers of red velvet cake and cheesecake, covered with cream cheese frosting. The idea was to use this either for the cutting ceremony, or for the couple to take home and freeze as a 1-year anniversary cake.

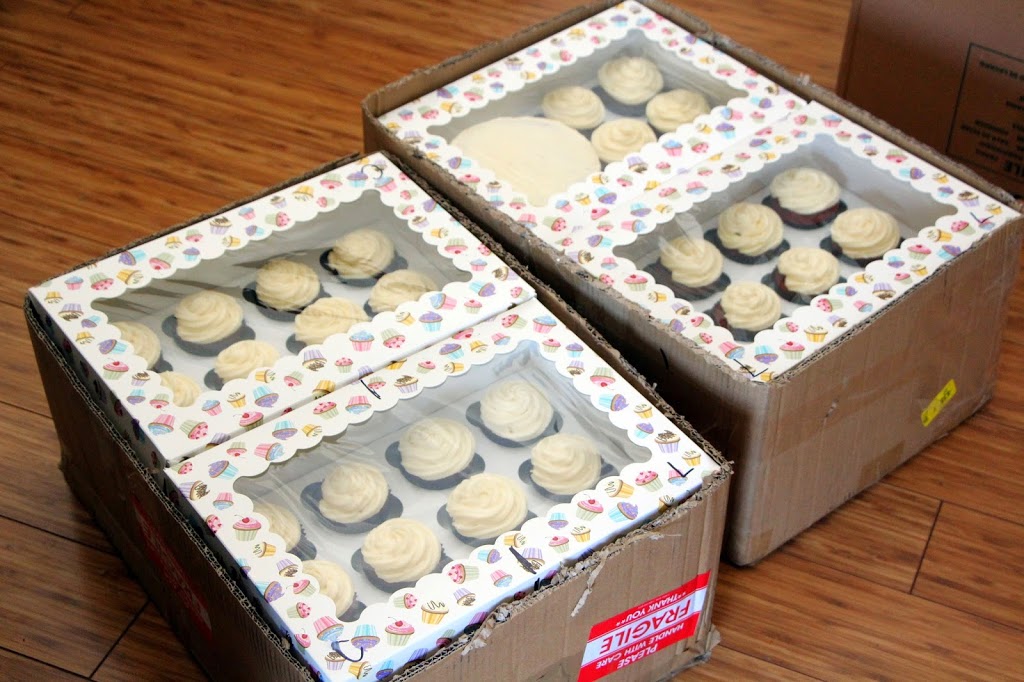
I went back and forth about what to prepare ahead of time, and what to do once in Mexico, but at the last minute after a trial run, I decided to bake the cupcakes and frost them ahead of time. The cake was made in advance and frozen. The cupcakes were baked the night before I traveled, refrigerated and then frosted right before I barely made it on my flight. The 84 cupcakes + 1 6″ cake were just the right amount to fit into two cardboard boxes that were each the dimension of carry-on luggage. As soon as we got to Mexico, they went into the hotel refrigerator.

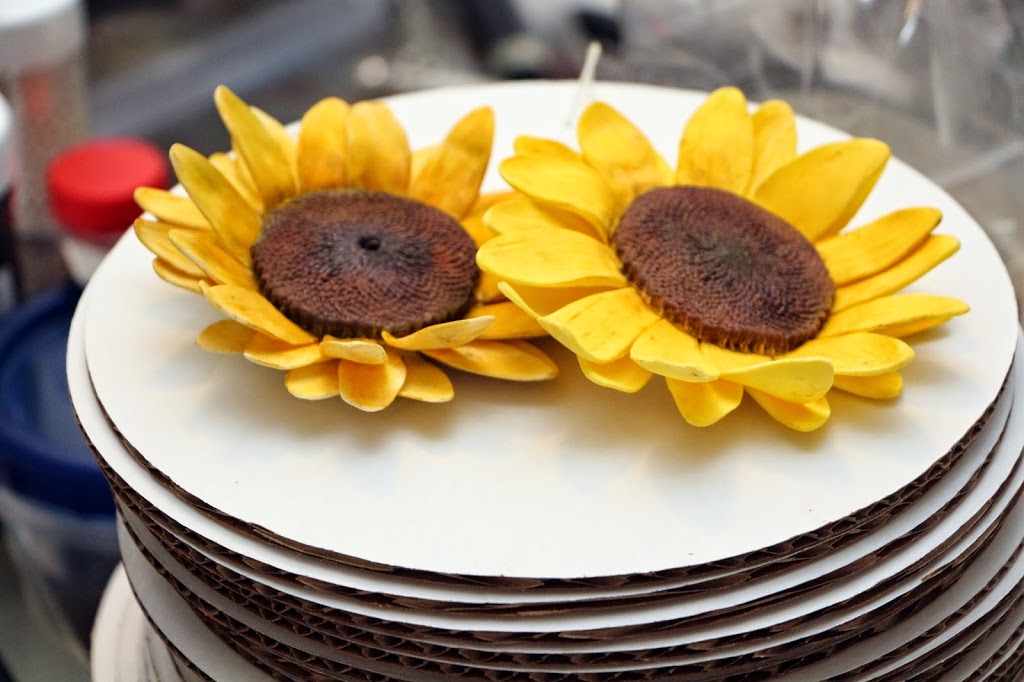
The morning of the wedding, we transported these to the wedding villa for decoration and setup. Unfortunately, we lost about 6 cupcakes due to mishandling by hotel staff, but everything else held up! The gumpaste sunflowers I made for the topper cake had some breakage issues, but I sacrificed one petal to use as gumpaste glue the night before the wedding to make some repairs.

I breathed a sigh of relief when the cake was finally cut, and the cupcakes were gobbled up. Whew! Exciting and so much fun!

1 Comment

1 2 3 4