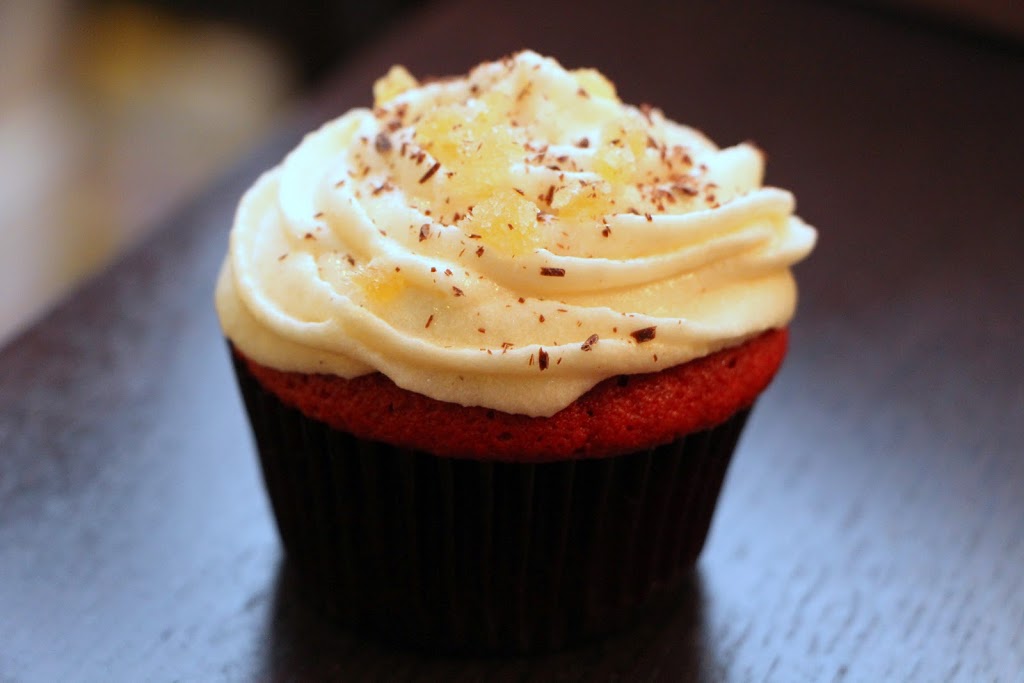
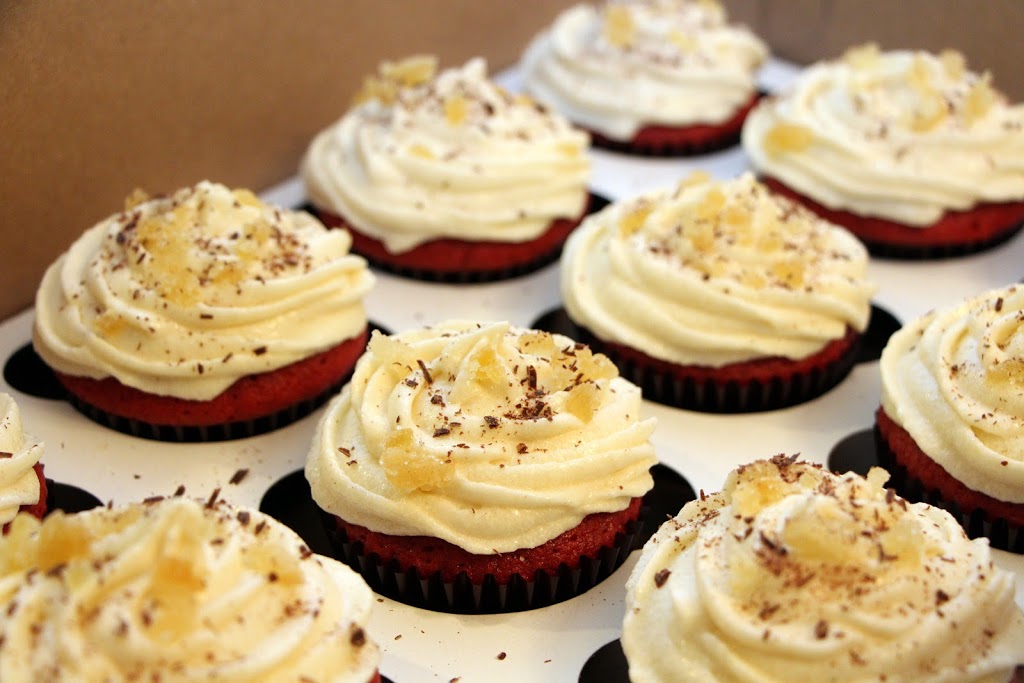
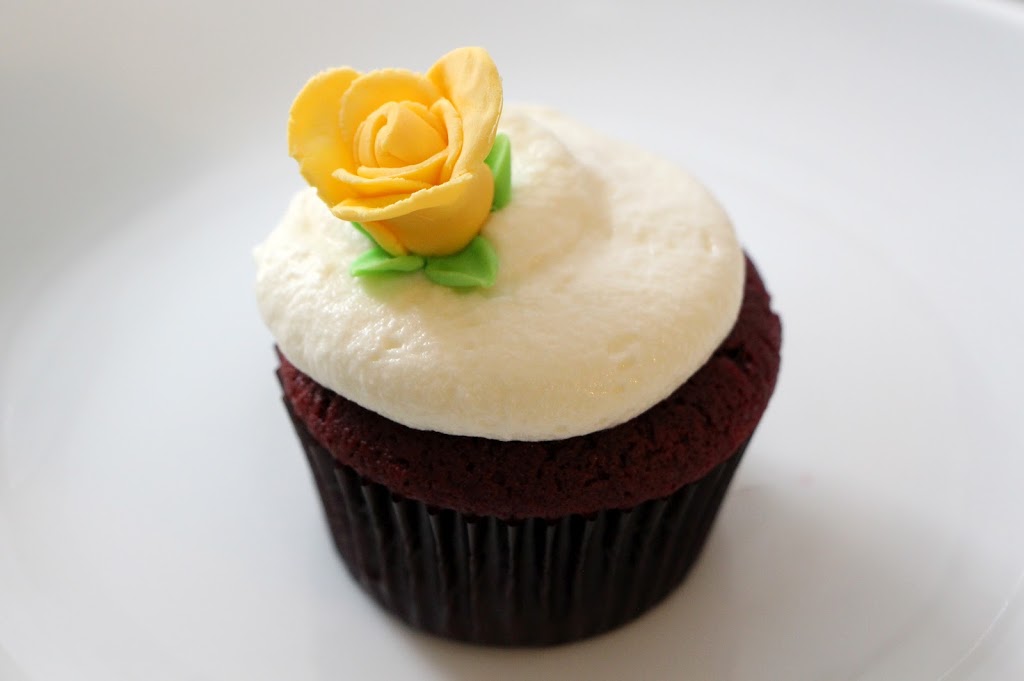
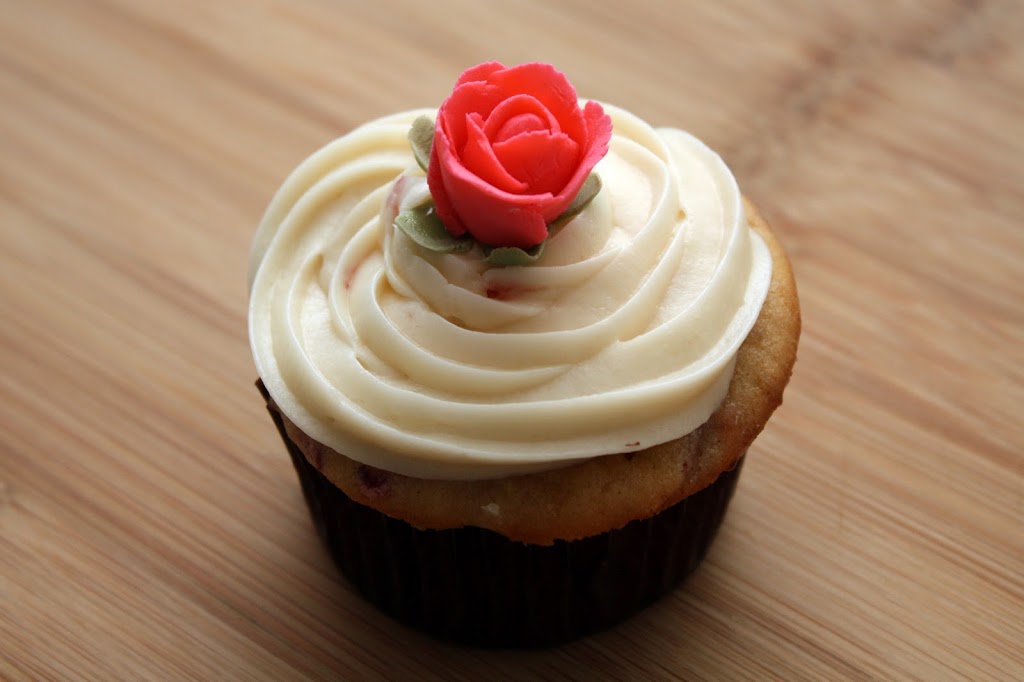
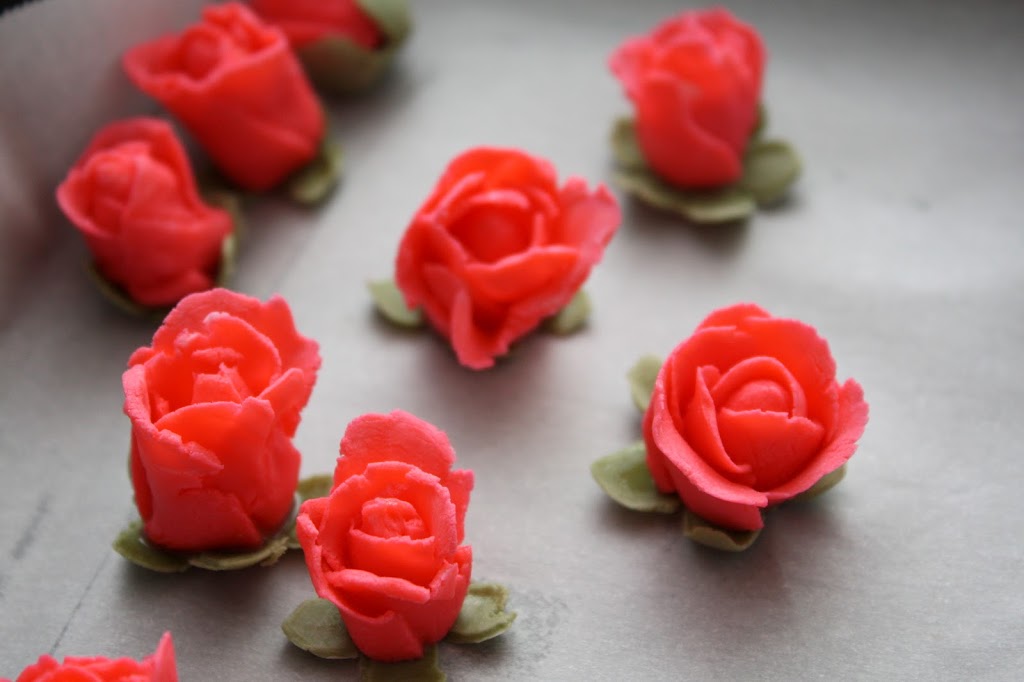
It’s homecoming weekend! For a reunion potluck with my syzsters, I made these red velvet cupcakes, filled with lemon curd and topped with lemon cream cheese frosting and a gumpaste yellow rose, as a nod to our sorority colors of red and gold.
I’ve actually never made red velvet cupcakes before, so I decided to try out two recipes, one from Cook’s Illustrated (which I can almost always count on), and one from the Hummingbird Bakery Cookbook (via Joy the Baker). Neither blew me away, as I thought both were slightly dry and not particularly flavorful on their own. Although both held up well and tasted great once assembled with the frosting and curd, I think a good cake should stand on its own.
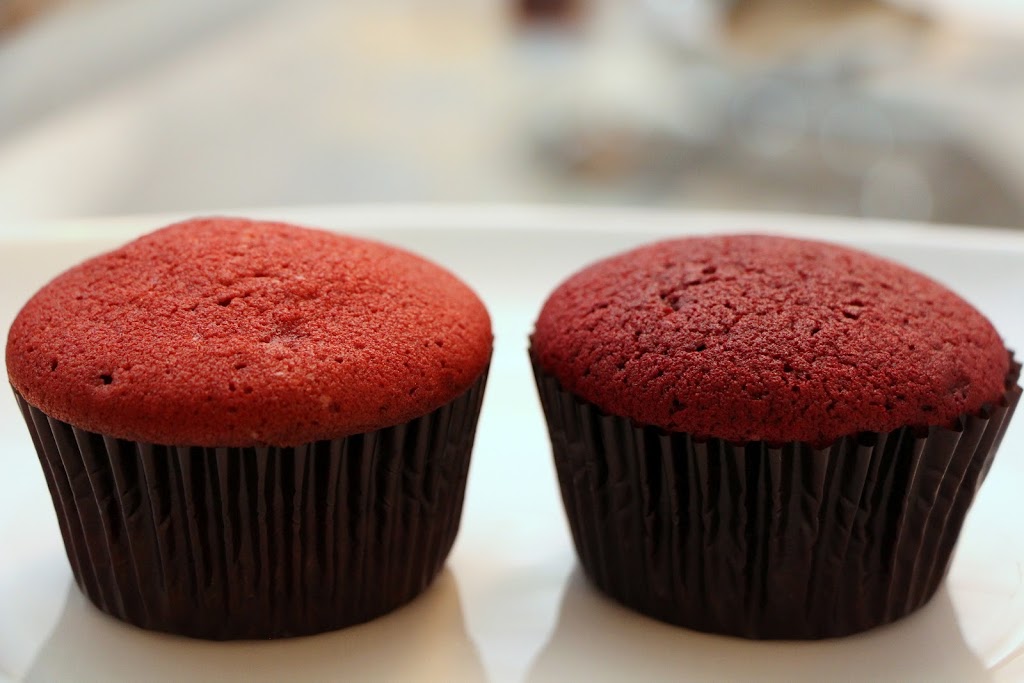
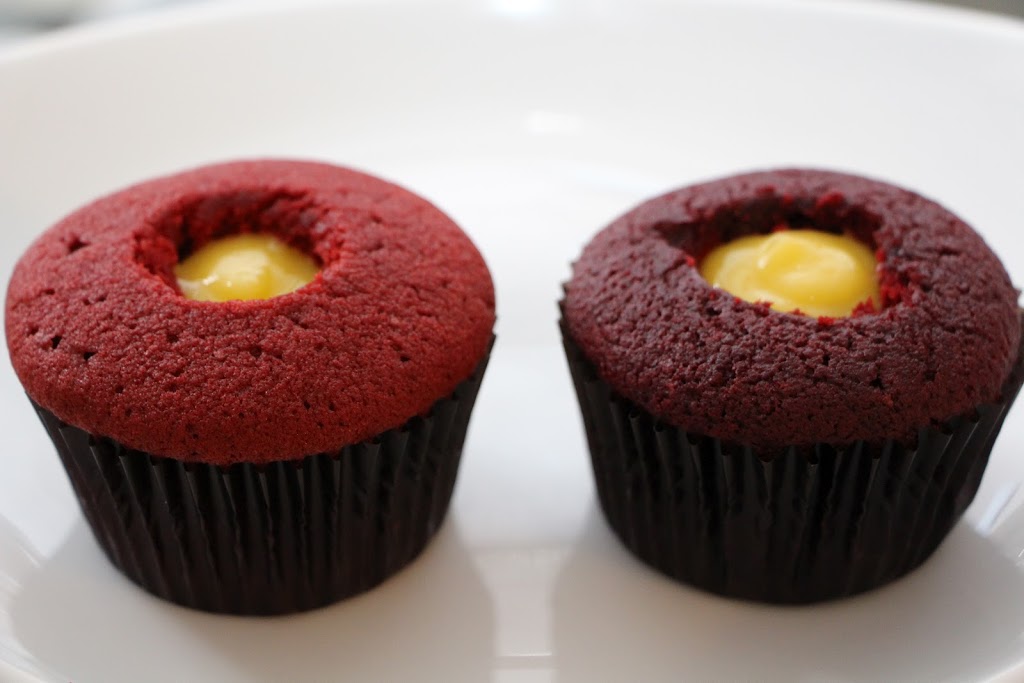
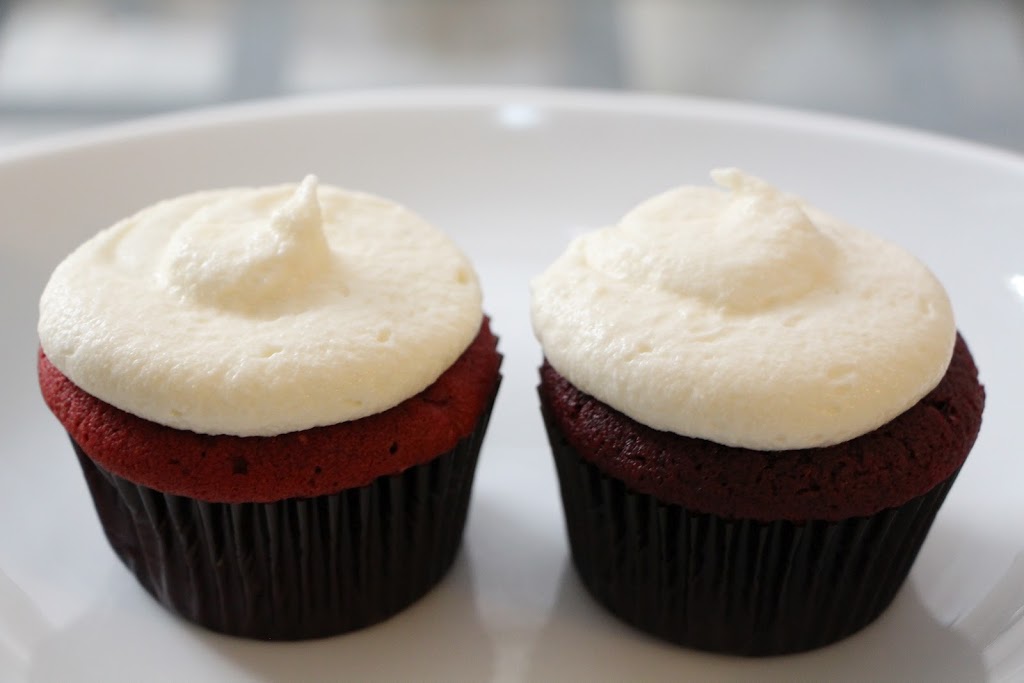
Cook’s Illustrated on left; Hummingbird Bakery on right
Initially, out of the oven, I liked the Hummingbird recipe better, because it used more cocoa and food coloring, resulting in a deeper red color and a stronger chocolate flavor. But once the cupcakes were assembled and sat overnight, I thought the Cook’s Illustrated recipe was more balanced. The Hummingbird recipe had a little too much cocoa, such that the cake tasted more like a chocolate cake (which, unless you are mixing in melted chocolate into the recipe, often has a slightly bitter aftertaste), and was overpowering the lemon and cream cheese flavors.
In the future, I hope to tinker with a oil-based recipe, rather than a butter-based one, as I generally prefer the texture and moistness of oil cakes (at least for cupcakes). Will update if I succeed there!
Cook’s Illustrated Red Velvet Cake – from Holiday Baking 2010
Ingredients
Makes 20 cupcakes
- 2 ¼ cups flour
- 1 ½ teaspoons baking soda
- ¼ teaspoon salt
- 1 cup buttermilk
- 1 tablespoon white vinegar
- 1 teaspoon vanilla extract
- 2 large eggs
- 2 tablespoons cocoa powder (regular, not Dutch-processed, for proper rise and color)
- 2 tablespoons red food coloring
- ¾ cup (1 ½ sticks) unsalted butter, room temperature
- 1 ½ cups granulated sugar
Directions
- Adjust oven rack to middle position and heat oven to 350 degrees.
- Whisk flour, baking soda and salt in medium bowl.
- Whisk buttermilk, vinegar, vanilla and eggs in large measuring cup.
- Mix cocoa with food coloring in small bowl until smooth paste forms.
- With stand mixer on medium-high speed, beat butter and sugar together until fluffy, about 2 minutes, scraping down bowl as necessary.
- Add one-third of flour mixture and beat on medium-low speed until just incorporated, about 30 seconds.
- Add half of buttermilk mixture and beat on low speed until combined, about 30 seconds.
- Scrape down bowl as necessary and repeat with half of remaining flour mixture, remaining buttermilk mixture, and finally remaining flour mixture.
- Scrape down bowl, add cocoa mixture and beat on medium speed until completely incorporated about 30 seconds. Using rubber spatula give batter final stir. (Note: make sure the red color is consistent throughout batter, especially at bottom of bowl.)
- Scrape into lined cupcake pans and bake until a toothpick inserted in center comes out clean, about 20 minutes.
adapted from Hummingbird Bakery Cookbook Red Velvet Cupcake – via Joy the Baker
Ingredients
Makes 20 cupcakes
- ½ cup (1 stick) unsalted butter, room temperature
- 1 ½ cup granulated sugar
- 2 eggs
- 5 tablespoons unsweetened cocoa powder
- 6 tablespoons red food coloring
- 1 teaspoon vanilla extract
- 1 cup buttermilk
- 2 ¼ cups flour
- 1 teaspoon salt
- 1 teaspoon baking soda
- 1 tablespoon white vinegar
Directions
- Adjust oven rack to middle position and heat oven to 350 degrees.
- Preheat oven to 350 degrees.
- On medium-high speed, cream the butter and sugar until light and fluffy, about 3 minutes.
- Turn the mixer to high and add the egg. Scrape down the bowl and beat until well incorporated.
- In a separate small bowl, mix together the cocoa powder, vanilla extract and red food coloring to make a thick paste. Add to the batter and mix on medium speed until completely combined.
- Reduce the mixer speed to low and slowly add half of the buttermilk. Add half of the flour and mix until combined. Scrape the bowl and repeat the process with the remaining milk and flour. Beat on high until smooth.
- Again, reduce the mixer speed to low and add the salt, baking soda and vinegar. Turn to high and beat for another couple of minutes until completely combined and smooth.
- Divide the batter evenly between the cupcake liners and bake for about 20 minutes, or until a toothpick inserted into the center comes out clean.
For the lemon cream cheese frosting, beat together 1 cup (2 sticks) unsalted butter, 12 oz. cream cheese, 1 lb. (4 cups) confectioners’ sugar, ¾ teaspoon vanilla extract, and the juice from one lemon (to taste, about 2-3 tablespoons). Note: the acidity from the lemon juice may slightly break up the consistency of the frosting, so don’t make this too far in advance.
For the lemon curd, combine 2 whole eggs, 8 egg yolks, 1 cup sugar, and ⅔ cup lemon juice in a heatproof bowl set over a saucepan of simmer water. Cook and whisk constantly until the mixture is thick enough to coat the back of a spoon. Remove from heat and add 2 tablespoons unsalted butter, whisking until smooth. Strain the mixture through a sieve into a small bowl to remove lumps. Cover with plastic wrap, pressing the wrap against the surface to prevent a skin from forming. Refrigerate until chilled and firm, at least 2 hours (or up to 2 days).