tart

Thanksgiving | (Part 2) Apple Rose Tarts & Pumpkin Cake Tarts

| Holidays


Continuing with my theme of using ingredients I had on hand, I also made apple rose tarts and pumpkin cake tarts for Thanksgiving (for co-workers, Friendsgiving and the actual family get-together). Although quite simple in theory, the apple tart in particular can be labor intensive if you hand slice your apples like I did. I think I told myself I was practicing my knife skills . . . but I would recommend using a mandolin slicer if you’ve got one!

The apple tarts are inspired by my baking friend Anjali, who in turn was inspired by a Pinterest post. The crust is a Pâte Brisée, and the rose is made from thin slices of Gala apples, coated with some sugar, cinnamon, lemon juice and melted butter.

I also added an apple compote (using Golden Delicious apples) underneath the rose to add flavor and moisture, which I think makes a big difference. After baking, I brushed with some apricot nappage for a glaze.


The pumpkin tarts use a Pâte Sucrée crust, baked with the same pumpkin brown butter cake batter I used for my Thanksgiving cake.


After baking, I leveled the top of the tart-cake, brushed on the brown sugar simple syrup, and then topped with mascarpone mousse.

Both were tasty treats and great for gifting. My personal favorite is the apple tart!

0 comment

Pastry School Recap | Unit 1 – Tarts & Cookies

| Uncategorized

Since I’ve been so delinquent in posting about pastry school, I’ve decided that in addition to recapping the experience, I should also recreate something representative of each unit. 

Here is “Unit 1 – Tarts & Cookies”, a.k.a. learning how to multi-task and break bad habits. During this first unit, we learned three basic tart doughs (pâte brisée (flaky), pâte sucrée (sweet), pâte sablée (sandy/shortbread)), a multitude of custards and other fillings, and the basics of finishing and decorating a tart. Cookies could almost be considered a filler topic, but they were a perfect fit for this unit considering the similar techniques for mixing and baking. 
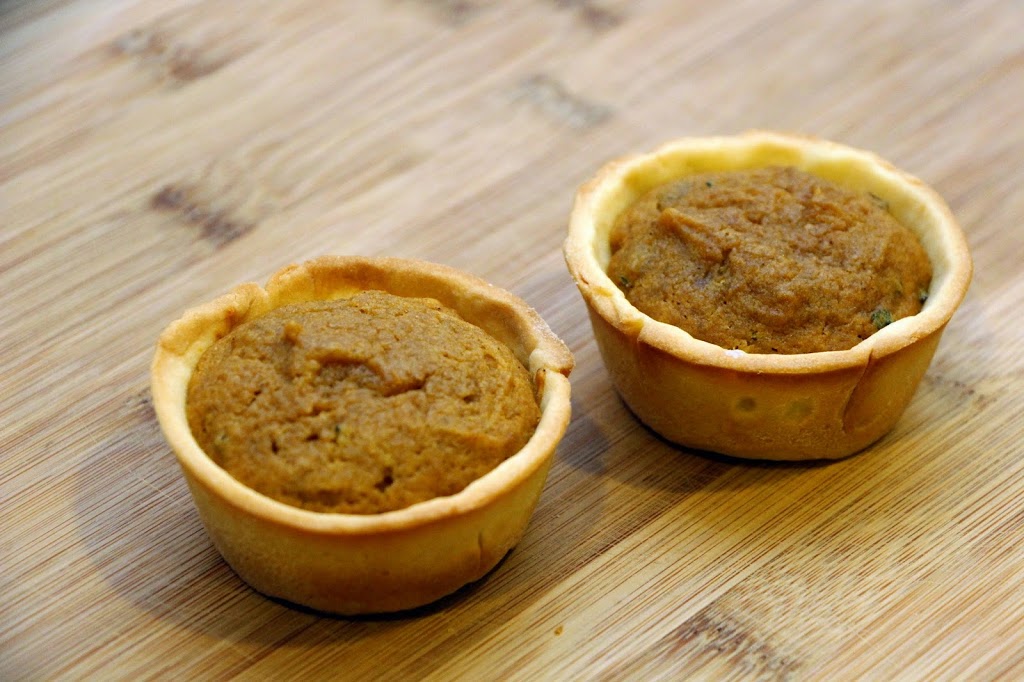
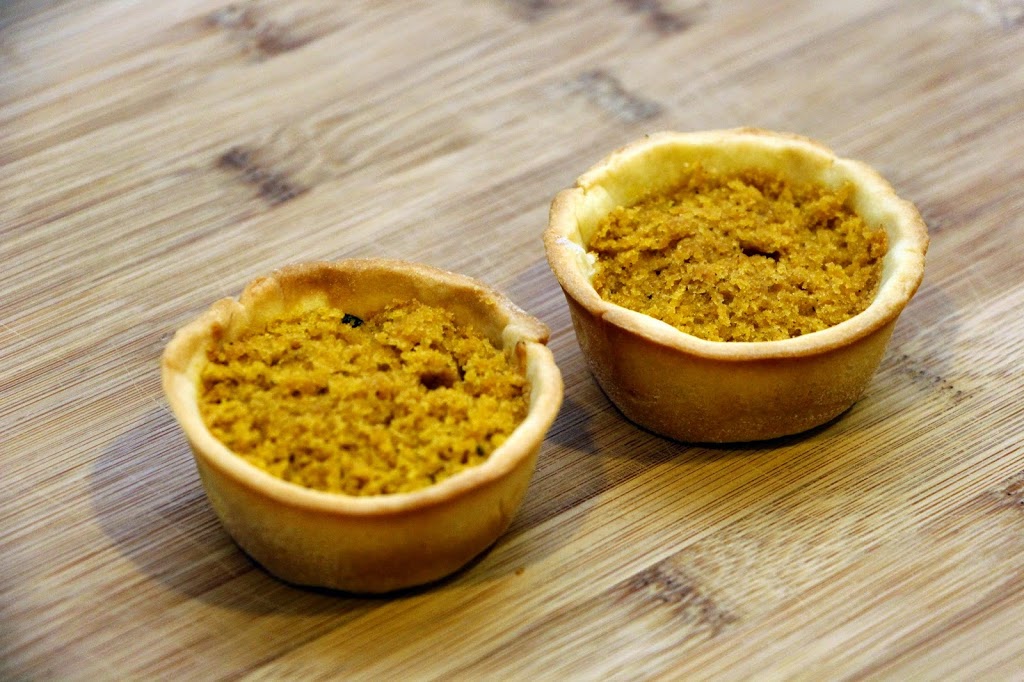
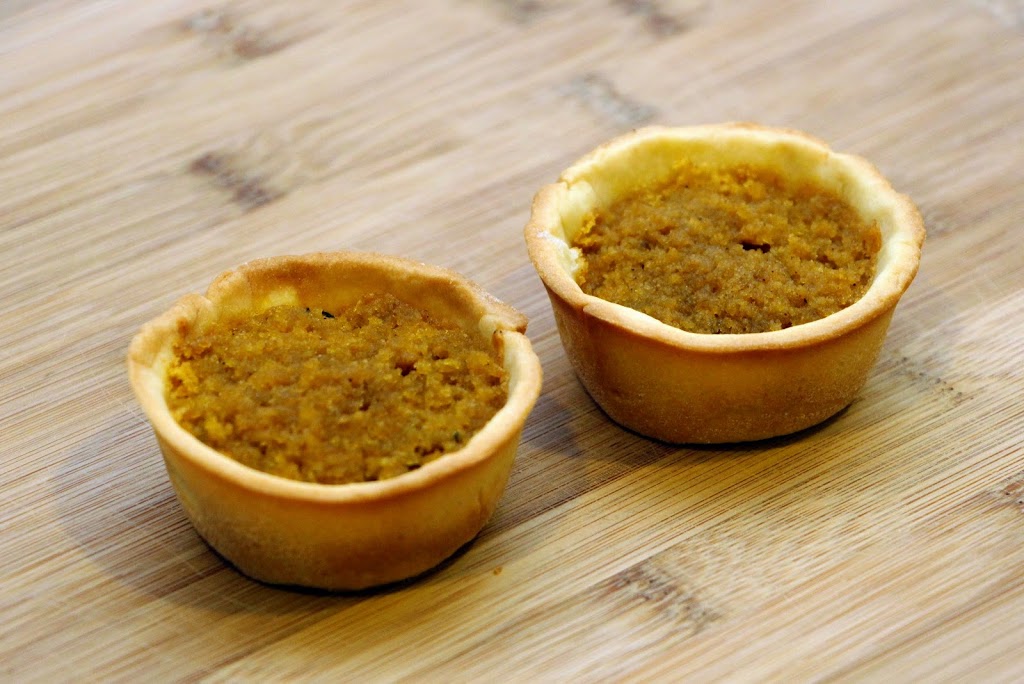
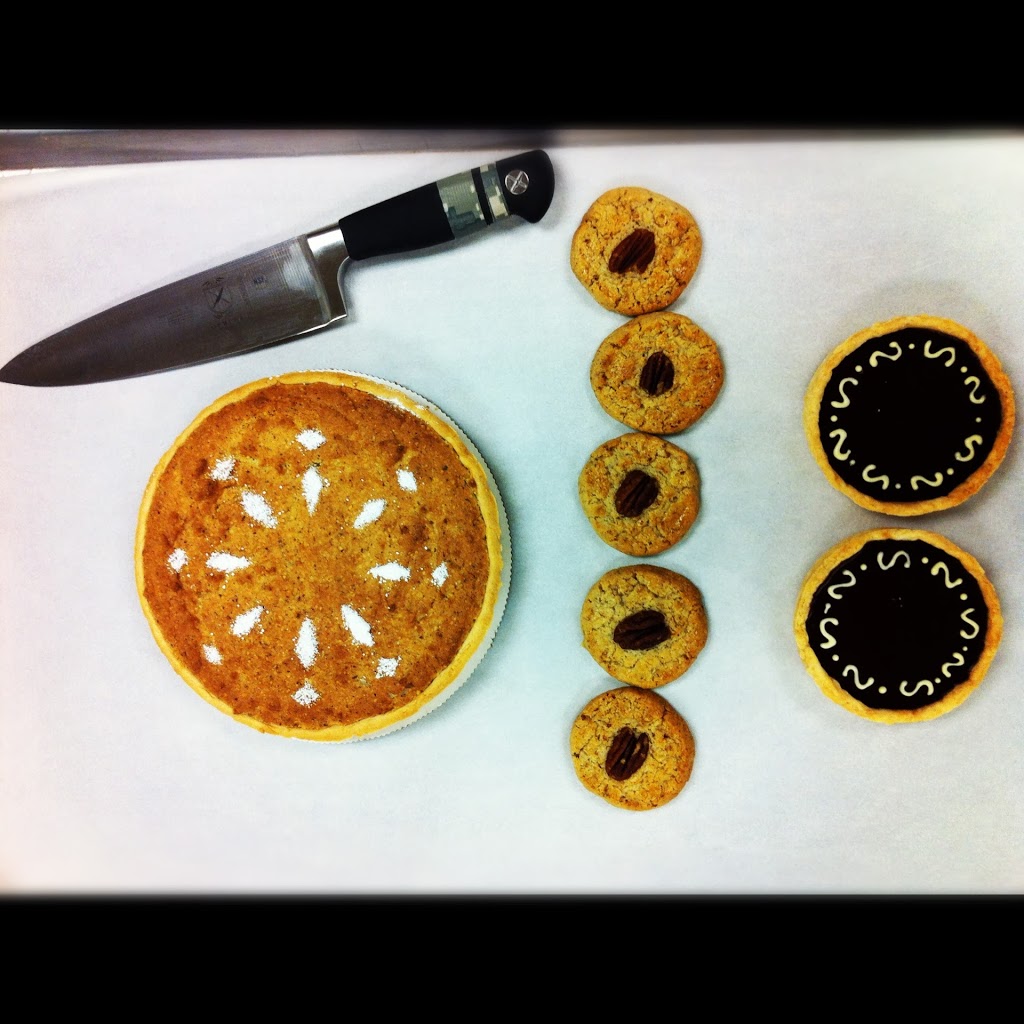
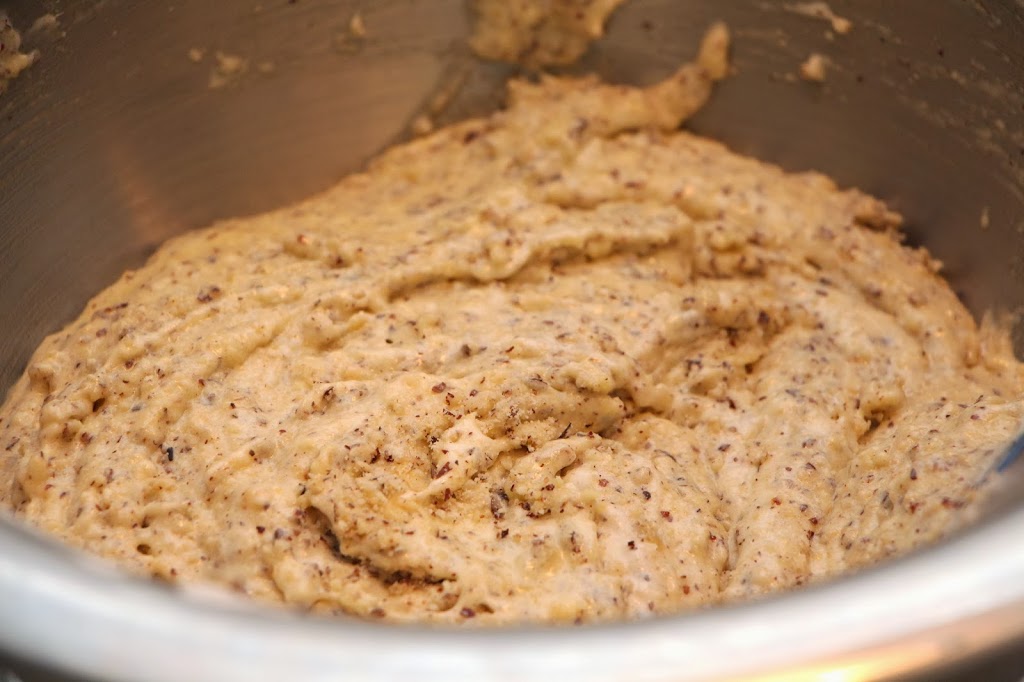
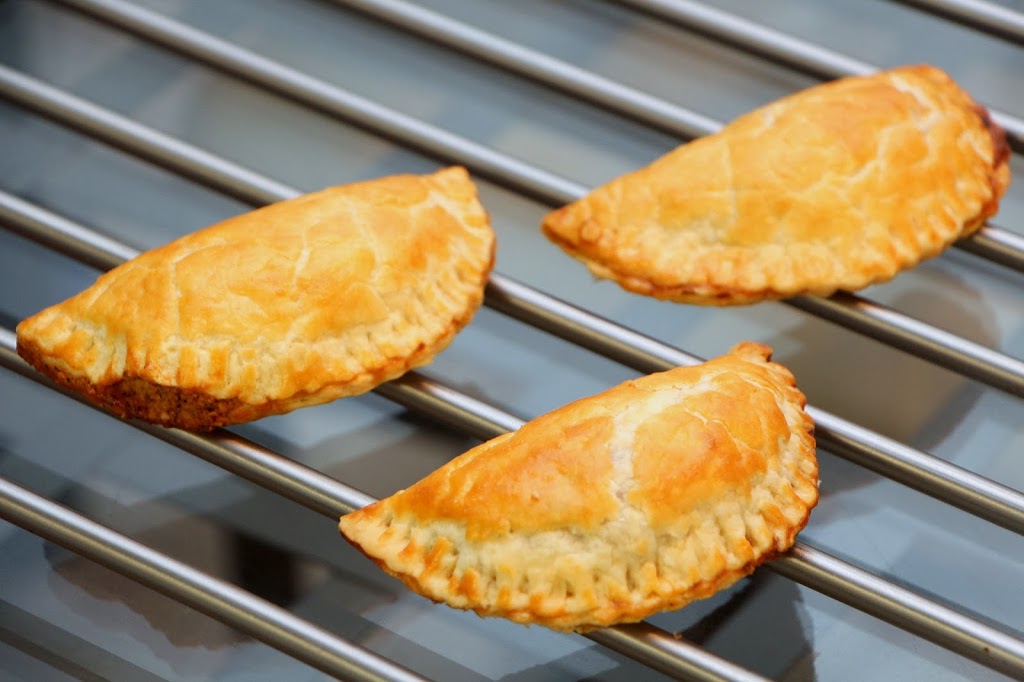
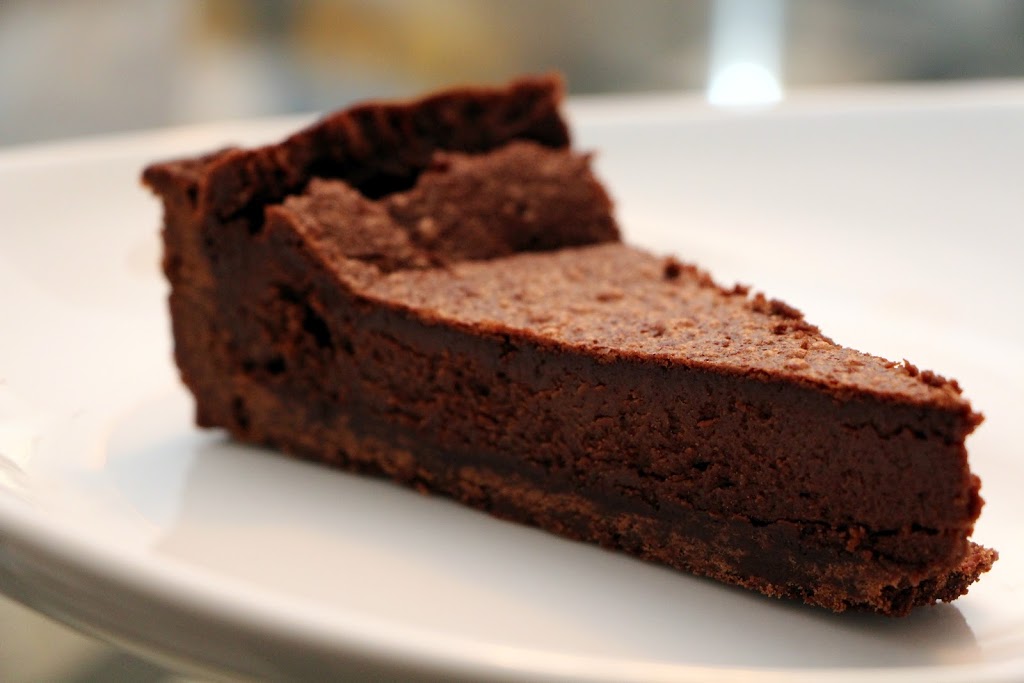
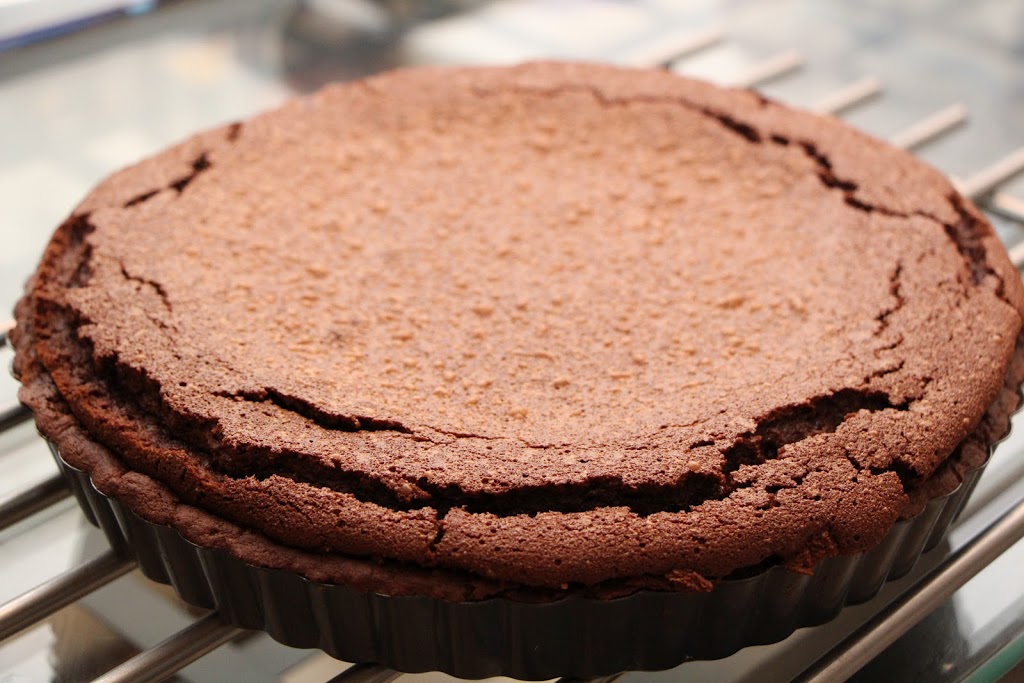
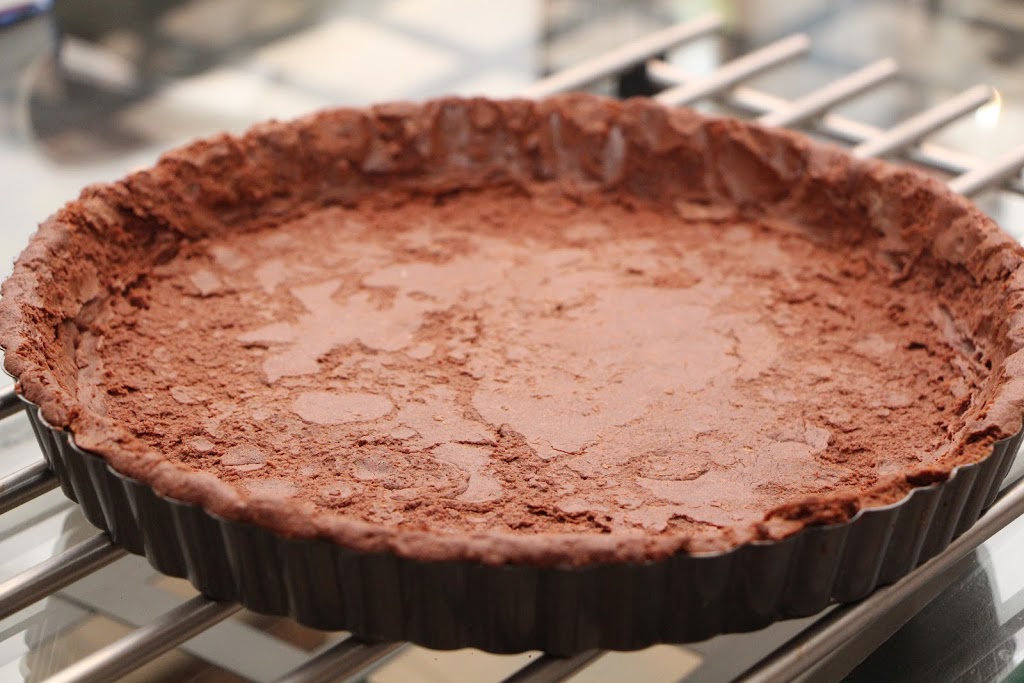
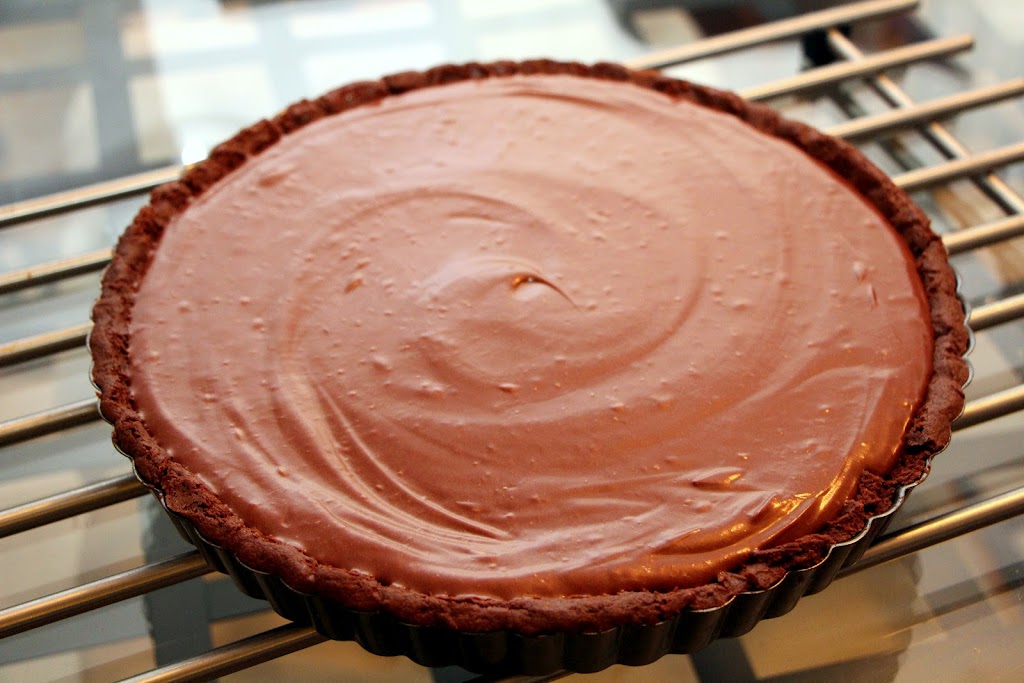
To pay homage to this unit, I decided to see what happens if I take a traditional nut tart (tarte aux noix) and convert it into empanadas. The nut tart we made in class consists of pâte brisée dough formed in a tart ring, lined with raspberry jam and sliced almonds, and baked with a nut flour filling (almond cream, hazelnut and almond flours, French meringue). This was actually the tart I received on my unit exam (on the left):
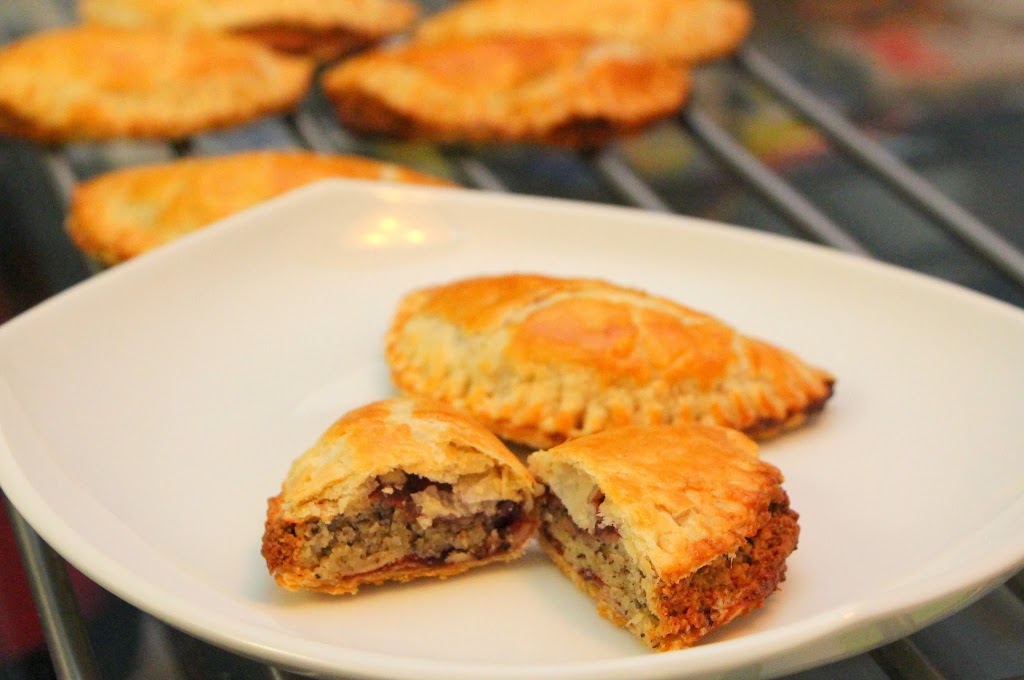
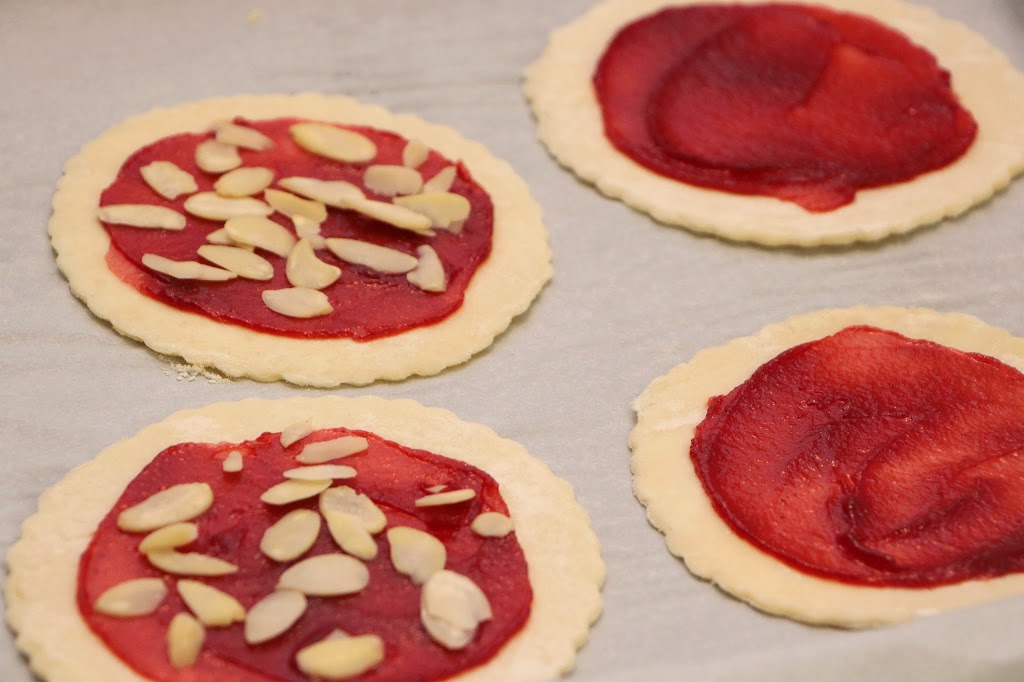
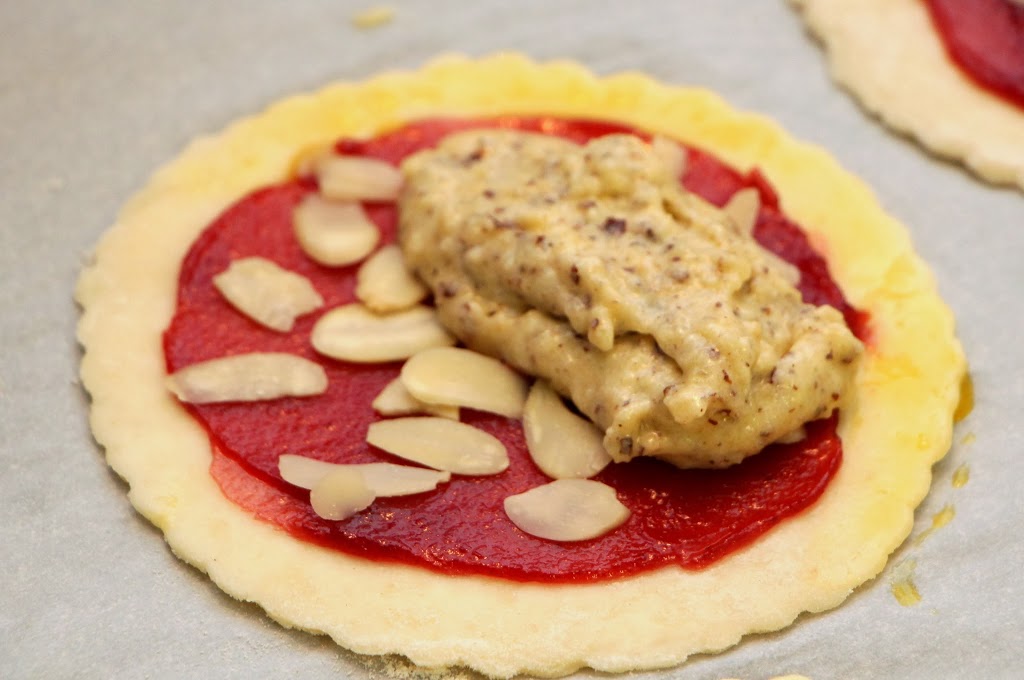
For the empanadas, I rolled and cut the dough into 4-5″ circles, spread the jam and sliced almonds, and then folded and sealed the empanadas with the nut flour filling inside.
Someone should make this into the next cupcake or macaron fad and call it “Sweet ‘Nadas”. Just a thought! 

I baked these at 350˚F for about 30 minutes. The filling poked out on a couple empanadas, but otherwise the end result was better than I expected! The crust was flaky and buttery, the sliced almonds had a nice crunch, and the filling retained the nut tart’s depth of flavor from the nut flours and tangy raspberry jam. In fact, the taste of this might have been even better than the nut tart since each bite had two layers of flaky crust and raspberry jam instead of one.

Getting back to pastry school itself, what was our crash-course introduction to pastry school like? Well, here is my vague, but I think accurate, recollection of Unit 1 – Tarts & Cookies:
Each night of Tarts & Cookies, we had to complete two, three, even four desserts, all in progress simultaneously. Accomplishing this required doing our homework (assigned reading on techniques and recipes), coming to class prepared with an understanding of the steps that would have to be accomplished during the 5-hour class period, keeping track of tasks and timing, learning to prioritize when inevitably we fell behind schedule, somehow always maintaining a clean tabletop . . . and at the same time learning about food safety and handling in order to obtain our ServSafe certification. 
Let’s not forget the most important task: following Chef’s instructions, or risk getting yelled at. This last part is a lot harder than you would think when you have all of the above to keep in mind and are asking yourself things like: “Does mixing on “low speed” mean speed 2 or 3? Does it matter? How exactly do I turn the bowl with my left hand while folding with my right hand? How far do I turn the bowl, 90˚ or 180˚? Do I zest a lemon by holding it on top of the microplane and moving the fruit back and forth, or the other way around? What does Chef mean to ‘bake until it’s done’? When is something ‘done’? Am I the only person thinking this? Do I look stupid?”
The lesson I learned at the end of the day is, stop wasting time thinking about these silly things and just start doing. Chef will certainly correct me if I’m screwing up. And, at the end of the day, once I started understanding the technique and developing a “baker’s instinct”, what really mattered was just doing what was effective, efficient, and least likely to give me carpal tunnel syndrome 😉
A few of my favorites from Unit 1:
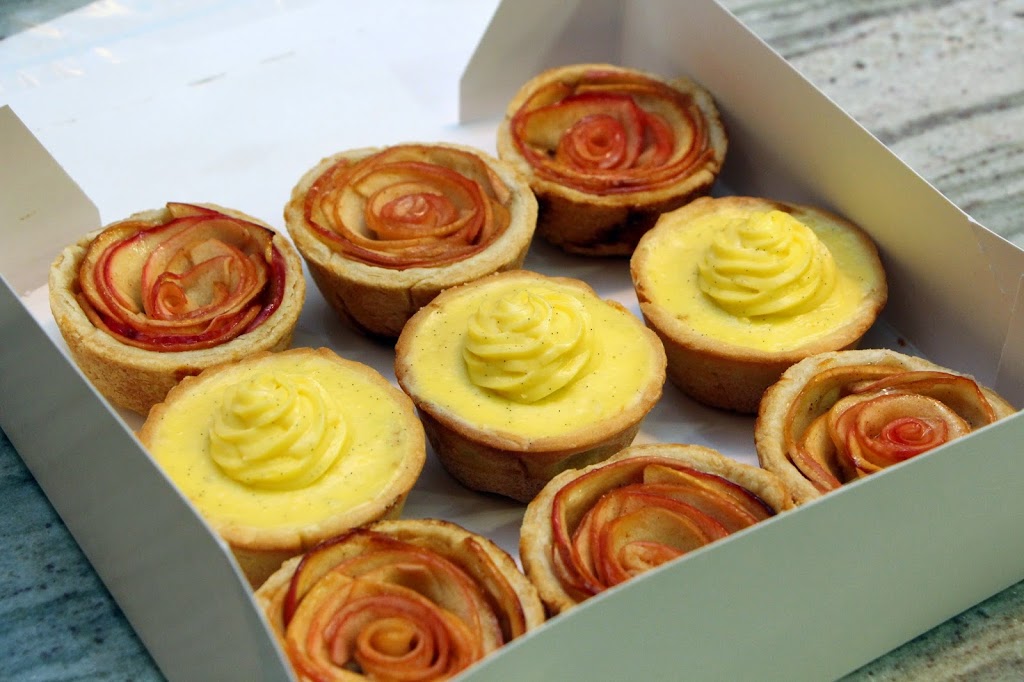
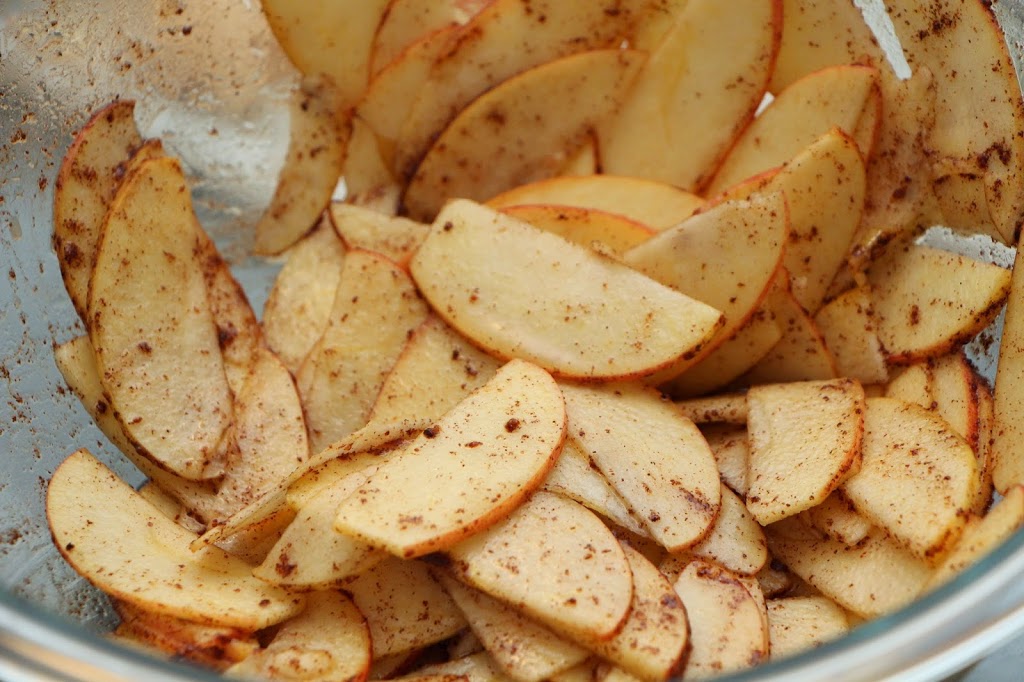
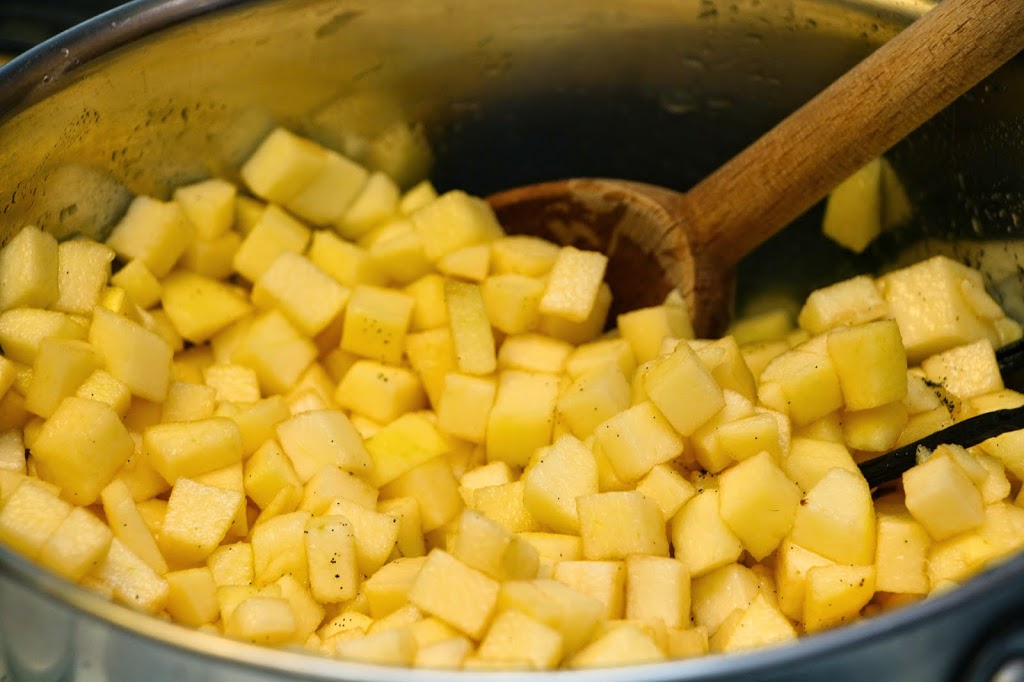
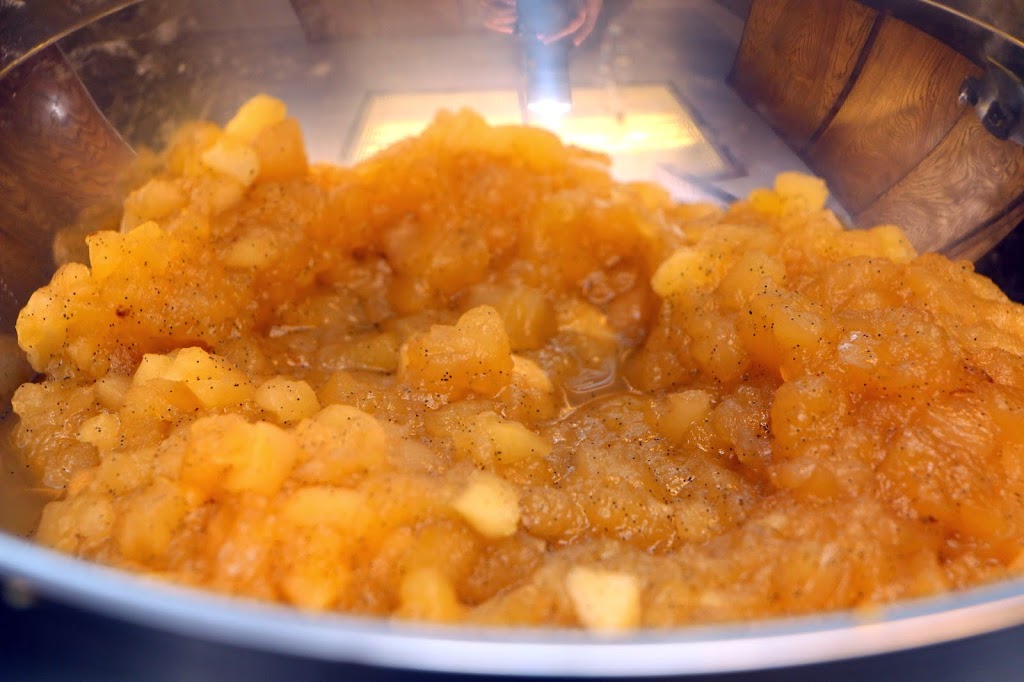
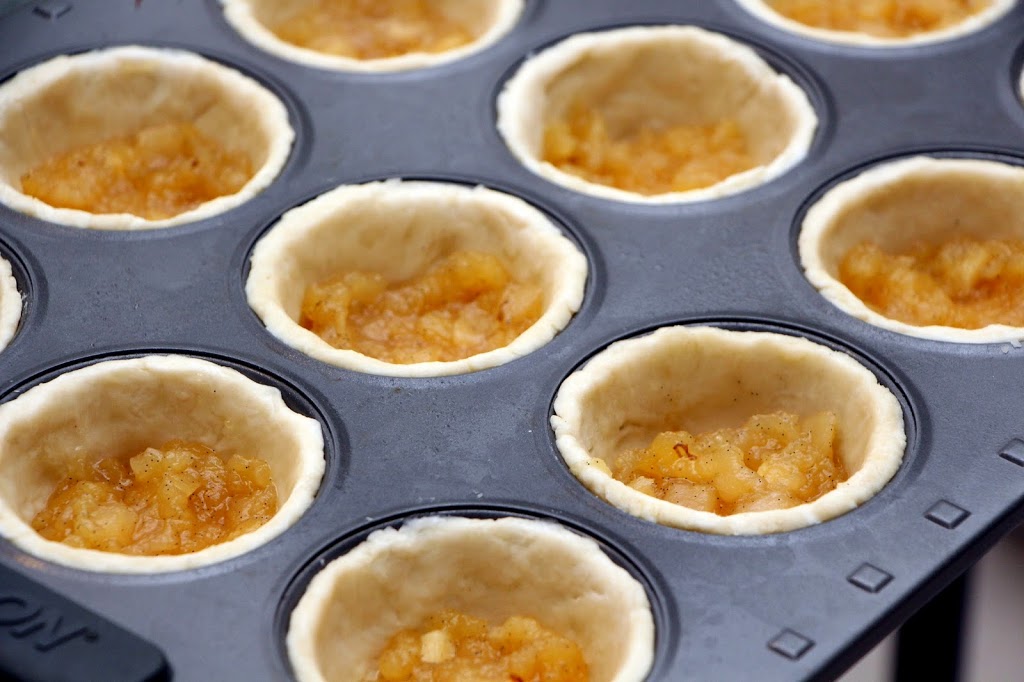
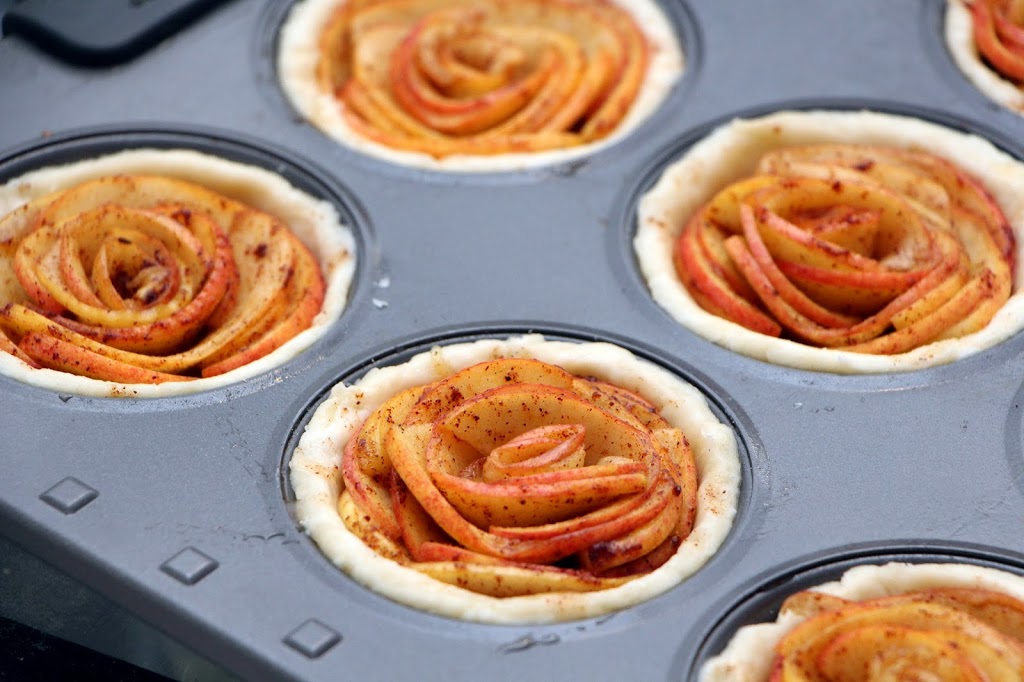
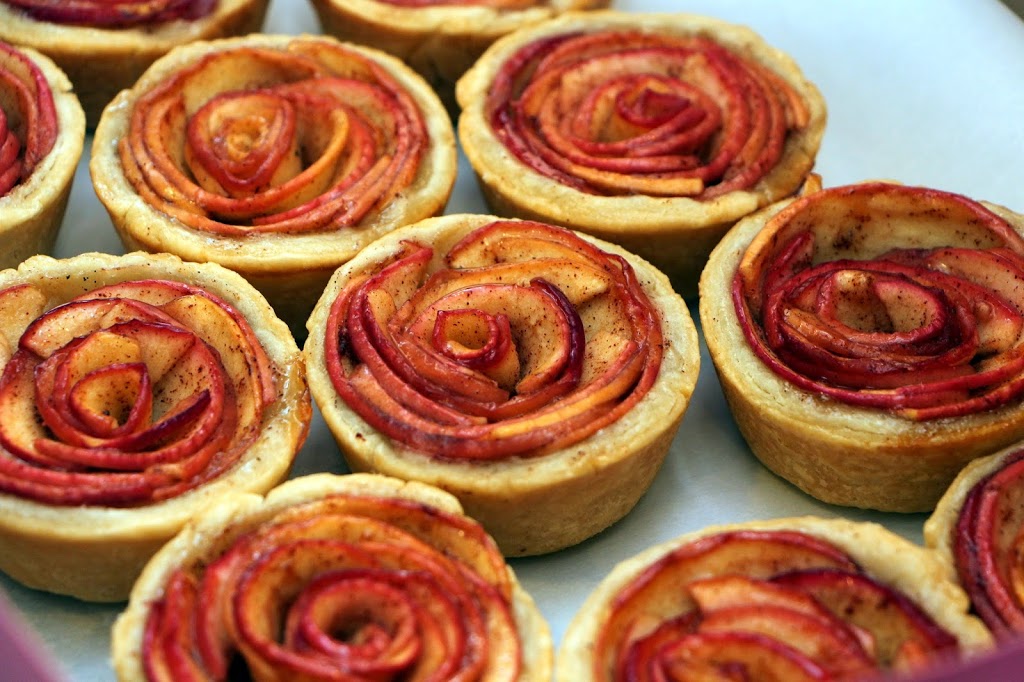
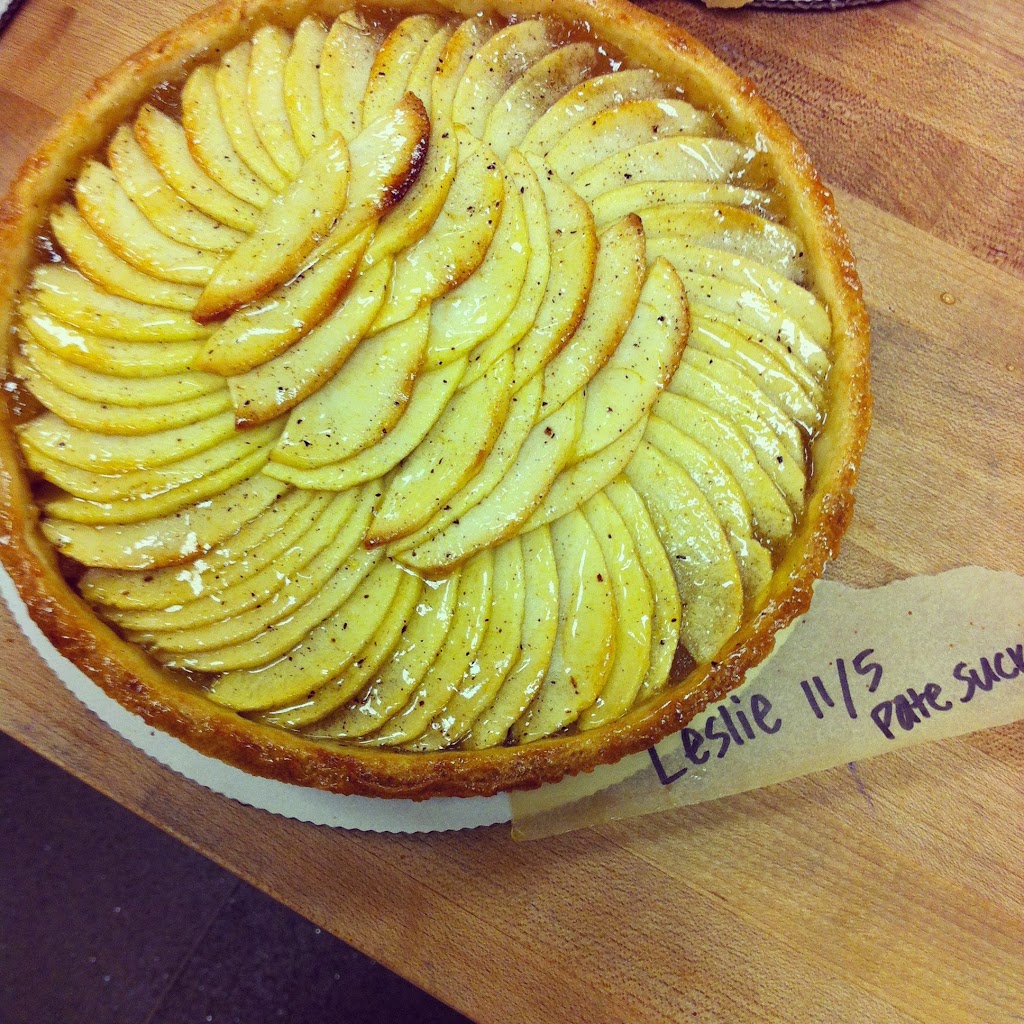
Apple Tart (Tarte aux Pommes): Made during the first two nights of class! Pâte Sucree crust, apple compote, sliced apples and nappage glaze.
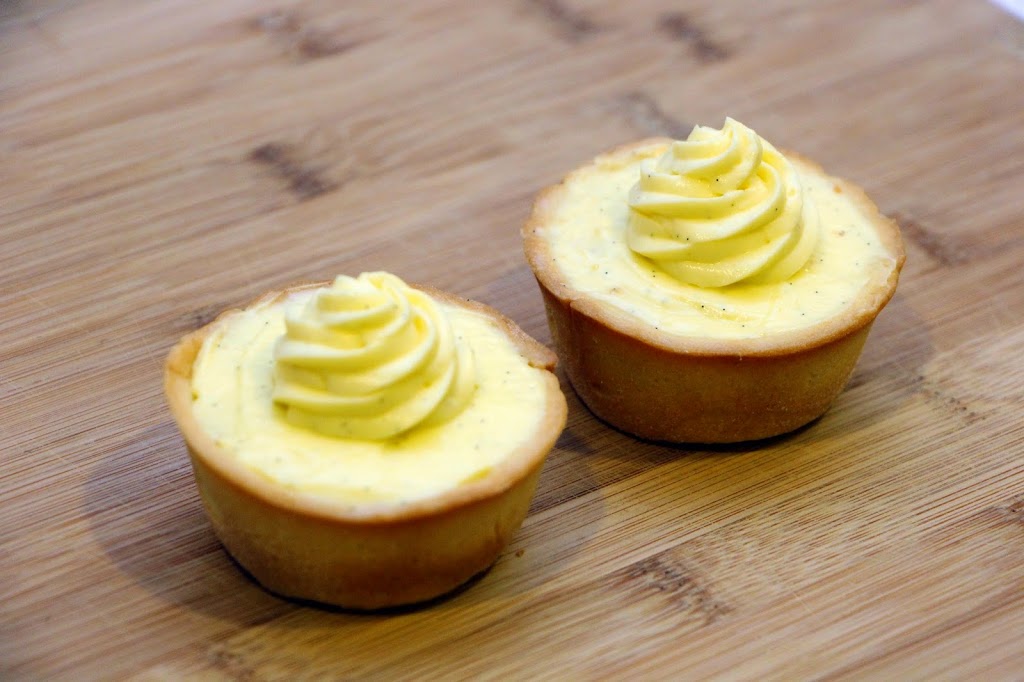
Fresh Fruit Tart (Tarte aux Fruits Frais): pâte sucrée crust, pastry cream filling, fresh fruit and nappage glaze.
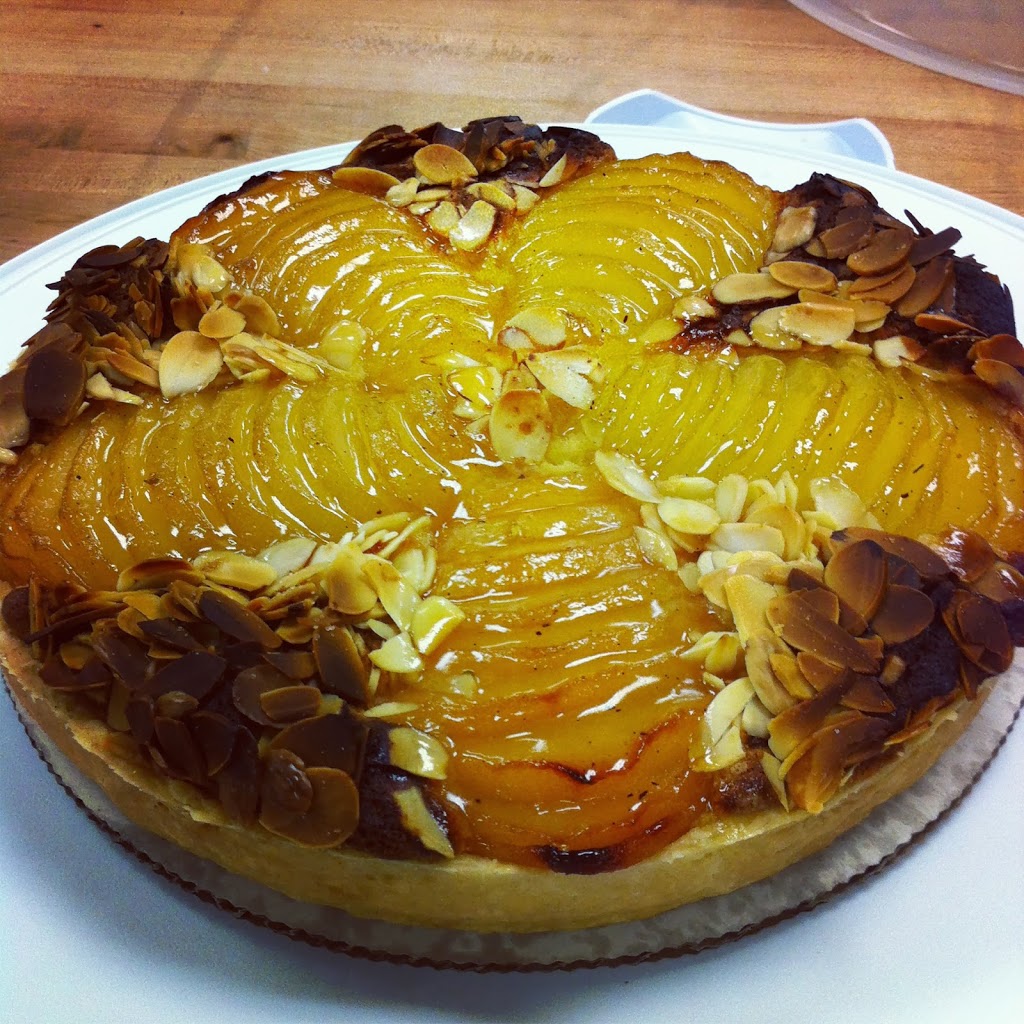
Pear and Almond Tart, Bourdaloue Style (Tarte Bourdaloue): pâte brisée crust, almond cream filling, poached pears, sliced almonds and nappage glaze.
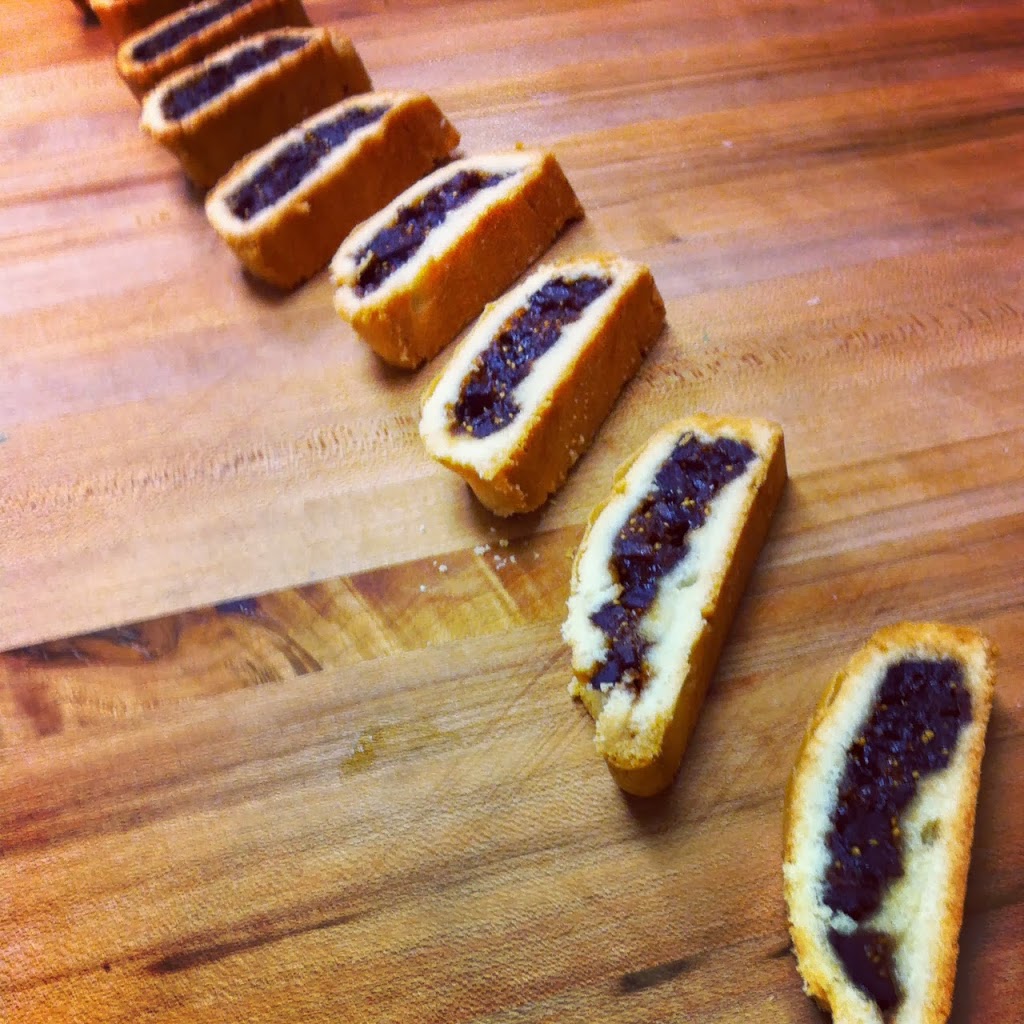
Fig Newtons!
0 comment

Chocolate Bourbon Tart

| Uncategorized

 Chocolate bourbon tart (with a slight emphasis on the bourbon . . . )

I love the crust on this. It has the crunchy yet crumbly texture and taste of a chocolate shortbread, which contrasts well with the rich bittersweet chocolate bourbon filling. It’s like eating an adult fudgy brownie with a cookie crust.

This recipe is contributed by Michael Glissman to the Food & Wine Annual Cookbook 2011 (which, by the way, has not let me down yet). I believe the original publication is from Italian Lunch in a Sonoma Vineyard with Jamey Whetstone and Michael Chiarello, and Food & Wine first published this in its monthly in October 2010.

Ingredients
Pastry

  • 1 ½ cups flour
  • ½ cup unsweetened cocoa powder
  • ¼ teaspoon salt
  • 1 cup (2 sticks) unsalted butter, room temperature
  • ½ cup sugar
  • ½ teaspoon vanilla extract

Filling

  • 12 oz. bittersweet chocolate
  • ¼ teaspoon salt
  • ½ cup bourbon (if you’re not a fan of the taste, dilute this a little)
  • 1 cup sugar
  • 1 cup (2 sticks) unsalted butter, room temperature
  • 5 large eggs, room temperature

 Directions

  1. In a small bowl, sift the flour with the cocoa powder and salt. In a standing mixer fitted with the paddle attachment, beat the butter with the sugar at medium-high speed until it is well blended. Beat in the dry ingredients at low speed until just combined. Add the vanilla extract and beat just until a soft dough forms, about 5 seconds. Press the pastry into a disk, wrap in plastic and refrigerate until the dough is firm, about 1 hour.
  2. Preheat the oven to 350°. On a floured work surface, working quickly, roll out the pastry to an 11-inch round, about 1/4 inch thick. Transfer the pastry to a 10-inch fluted tart pan with a removable bottom. Gently press the pastry over the bottom and up the side of the pan. Trim off any excess pastry. Refrigerate the shell for about 20 minutes, until firm.
  3. Line the pastry with foil and fill with pie weights or dried beans. Bake for about 30 minutes, until almost cooked. Remove the tart shell from the oven and let cool for 15 minutes, then gently remove the foil and weights. Return the shell to the oven and bake for about 12 minutes longer, until dry. Transfer to a wire rack and let the tart shell cool to room temperature. Just before filling, refrigerate the tart shell for a few minutes until slightly chilled.
  4. Put the chocolate and salt in the bowl of the standing mixer fitted with the whisk attachment. In a small saucepan, heat the bourbon with the sugar over moderate heat, stirring a few times, just until the sugar is dissolved; try not to let the bourbon boil. Pour the warm bourbon mixture over the chocolate. Add the pieces of butter and the eggs and beat at moderate speed until the mixture is creamy and shiny.
  5. Set the tart shell on a large baking sheet and pour in the filling. Bake for 35 to 40 minutes, until the filling has risen and the top is cracked in places. Transfer the tart to a rack and let it cool completely. Unmold the tart and refrigerate it overnight. Using a sharp knife, cut the tart into thin wedges and serve. 

0 comment

1 2